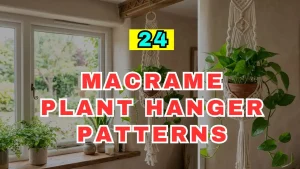
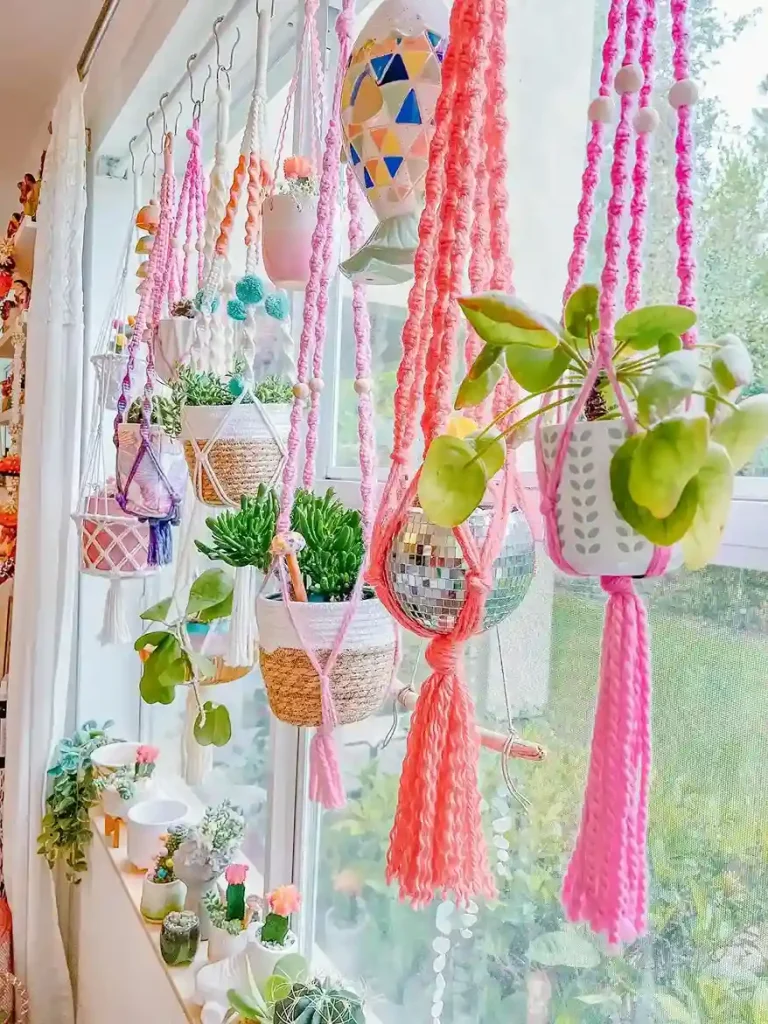
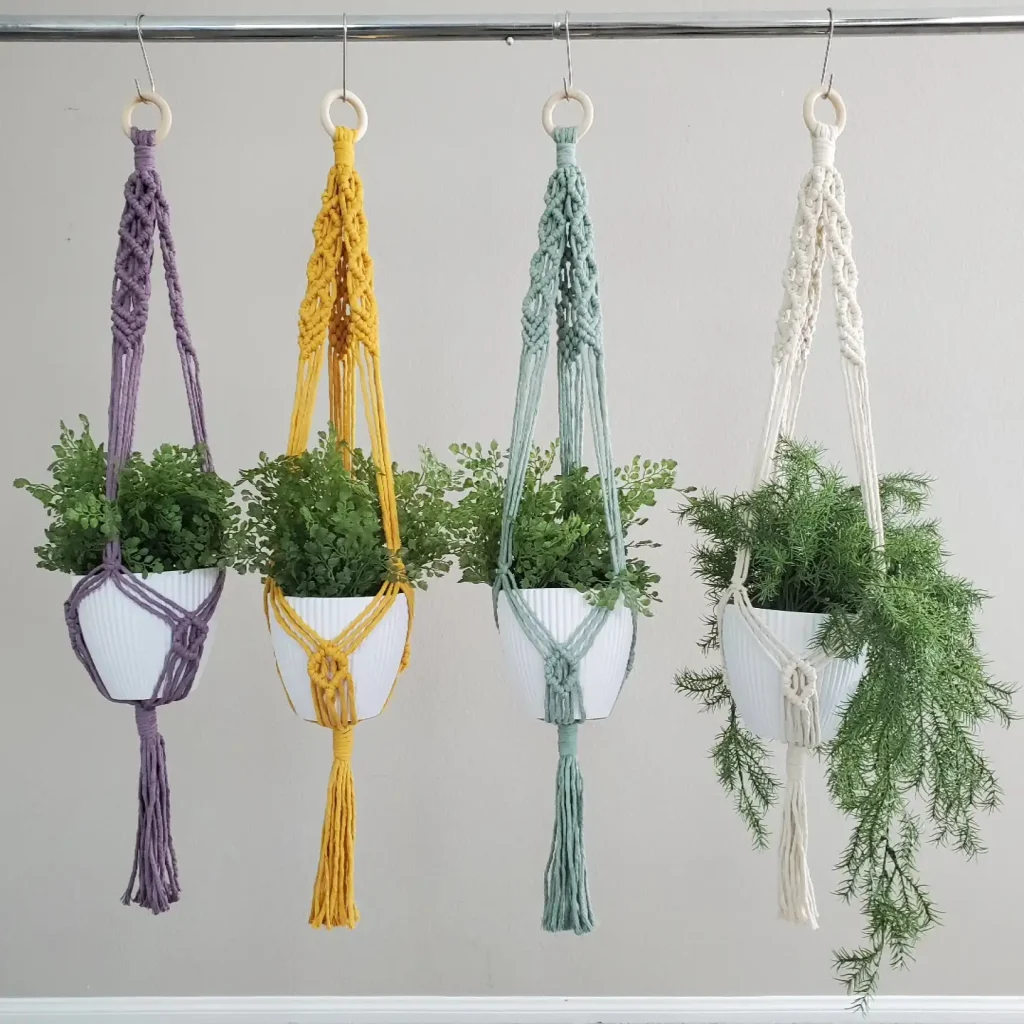
Macrame plant hangers bring a timeless, handmade charm to any home. The knotted cord designs add texture, warmth, and a beautiful boho touch to indoor and outdoor spaces.
Learning macrame is easier than most people think. With just a few basic knots, you can create stunning hangers that look professionally made.
This complete guide covers everything you need to know. From tools and knots to step-by-step patterns, you will be making your own macrame plant hangers in no time.
1. What Is Macrame?
Macrame is the art of creating patterns using only knots, without any weaving or sewing. It dates back centuries and has become a popular modern craft again.
Plant hangers are one of the most popular macrame projects. They are functional, beautiful, and require only basic knotting skills to complete successfully.
| Feature | Details |
|---|---|
| Origin | Ancient knotting craft, centuries old |
| Modern Use | Plant hangers, wall art, jewelry |
| Skill Required | Basic knots, no special tools needed |
2. Why Make Your Own Macrame Plant Hanger?
Handmade hangers cost a fraction of store-bought versions. A single hanger uses just a few dollars of cord and takes only an hour or two to finish.
Macrame hangers also make wonderful personalized gifts. Every piece you make is unique, and the process itself is calming and meditative for many people.
| Reason | Benefit |
|---|---|
| Affordable | Costs $3 – $10 in materials |
| Relaxing hobby | Repetitive knotting is meditative |
| Customizable | Choose your own colors, length, and style |
3. Best Cord and Materials for Macrame Hangers
Choosing the right cord affects how your hanger looks, feels, and holds up over time. Cotton cord is the most popular choice for beginners and experts alike.
Single strand cotton cord is smooth and easy to knot with clean results. Cotton rope (3-strand twisted) gives a chunkier, more textured look for bold designs.
| Cord Type | Best For | Cost |
|---|---|---|
| Single strand cotton | Smooth, classic hangers | Low |
| 3-strand cotton rope | Chunky, textured designs | Low to medium |
| Jute | Rustic, natural outdoor look | Very low |
4. Essential Tools for Macrame
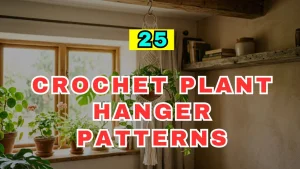
Macrame requires very few tools, making it an accessible craft for everyone. A few basics are all you need to get started right away. See more crochet hanger patterns for decorations.
A measuring tape ensures accurate cord lengths before you begin cutting. A wooden ring or dowel is needed to mount your cords for most hanger patterns.
| Tool | Purpose |
|---|---|
| Measuring tape | Measuring and cutting cord lengths |
| Scissors | Cutting cord cleanly |
| Wooden ring or dowel | Mounting cords at the start |
| Comb (optional) | Brushing out fringe ends |
5. Essential Macrame Knots You Need to Know
Most plant hanger patterns use just a handful of core knots. Mastering these basics opens the door to dozens of beautiful design variations.
The square knot, spiral knot, and gathering knot are the three most essential. Learn these three knots first before attempting more advanced macrame patterns.

| Knot Name | Use in Hangers |
|---|---|
| Square knot | Main body pattern, very versatile |
| Spiral knot | Twisted rope effect along cords |
| Gathering knot | Joins all cords together at top or bottom |
6. How to Tie a Square Knot — Step by Step
The square knot is the foundation of most macrame plant hangers. It is made using four cords — two working cords and two filler cords in the middle.
Cross the left working cord over the filler cords and under the right cord. Then reverse the direction and repeat to complete one full square knot.
| Step | Action |
|---|---|
| 1 | Left cord crosses over filler cords |
| 2 | Right cord goes under filler and through loop |
| 3 | Repeat in reverse direction to complete the knot |
7. How to Tie a Spiral Knot — Step by Step
The spiral knot creates a beautiful twisted rope effect along the hanger. It is made by repeating only the first half of the square knot over and over.
After about four to five repetitions, the cords will naturally begin twisting into a spiral. This is one of the easiest and most satisfying macrame techniques to learn.
| Step | Action |
|---|---|
| 1 | Tie only the first half of a square knot |
| 2 | Repeat the same half-knot again, without reversing |
| 3 | Continue until the spiral forms naturally |
8. How to Tie a Gathering Knot — Step by Step
The gathering knot bundles multiple cords together into one neat wrap. It is commonly used at the bottom of plant hangers to finish the design.
Wrap a separate piece of cord around the bundle several times, then thread the end through the wraps. Pull tight and trim the excess for a clean finish.
| Step | Action |
|---|---|
| 1 | Wrap a separate cord around the bundle 5–8 times |
| 2 | Thread the end through the top of the wraps |
| 3 | Pull tight and trim excess cord |
9. How to Calculate Cord Length
Getting cord lengths right prevents running out of cord halfway through a project. As a general rule, cut cords 4 times the desired finished length.
For a typical 3-foot plant hanger, cut each cord around 10 to 12 feet long. Always cut a little extra — it is easier to trim than to add length later.
| Finished Hanger Length | Cord Length to Cut |
|---|---|
| 2 feet | 8 – 9 feet per cord |
| 3 feet | 10 – 12 feet per cord |
| 4 feet | 14 – 16 feet per cord |
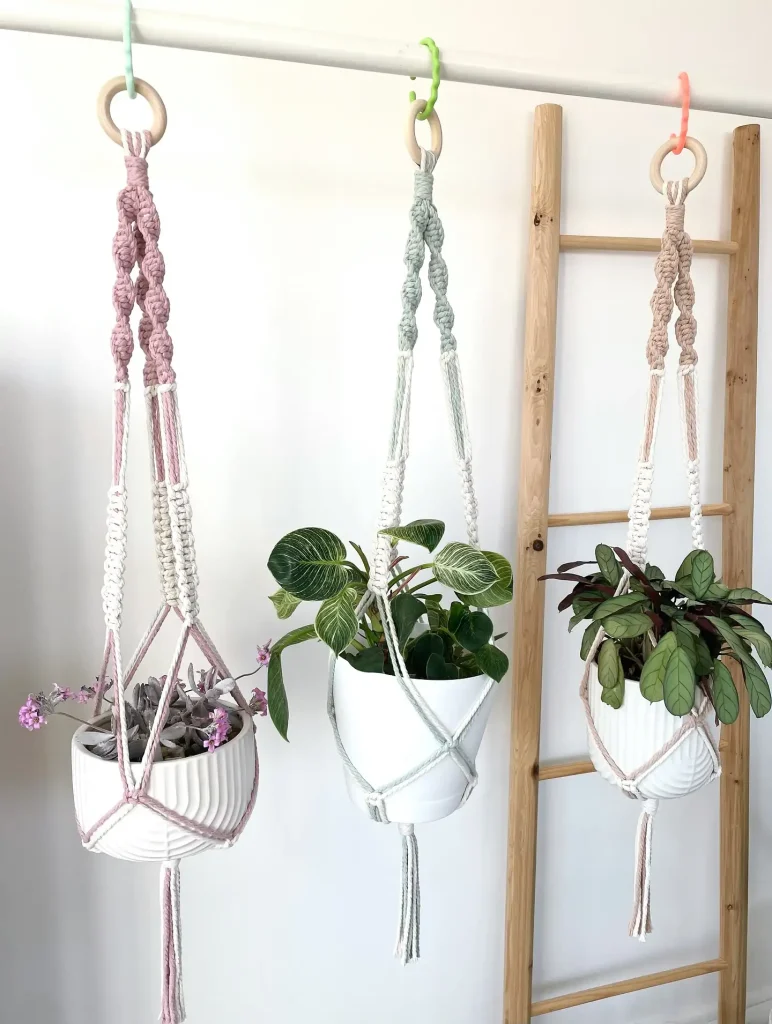
10. How to Mount Cords on a Ring
Mounting is the first step of almost every macrame pattern. It attaches your cords securely to a wooden ring, dowel, or hook before knotting begins.
Fold each cord in half and pull the looped end through the ring. Then pull the two ends through the loop and tighten to secure it in place.
| Step | Action |
|---|---|
| 1 | Fold cord in half to find the midpoint |
| 2 | Push the folded loop through the ring |
| 3 | Pull both ends through the loop and tighten |
11. Beginner Macrame Plant Hanger Pattern
This simple pattern uses only square knots and is perfect for your very first project. It works up quickly and looks beautiful even with basic techniques.
Mount four cords on a ring, divide into two groups, and tie a series of square knots down each strand. Gather all cords at the bottom with a finishing knot.
| Pattern Detail | Specifics |
|---|---|
| Skill level | Absolute beginner |
| Cords needed | 4 cords (8 strands after folding) |
| Time to complete | 45 – 60 minutes |
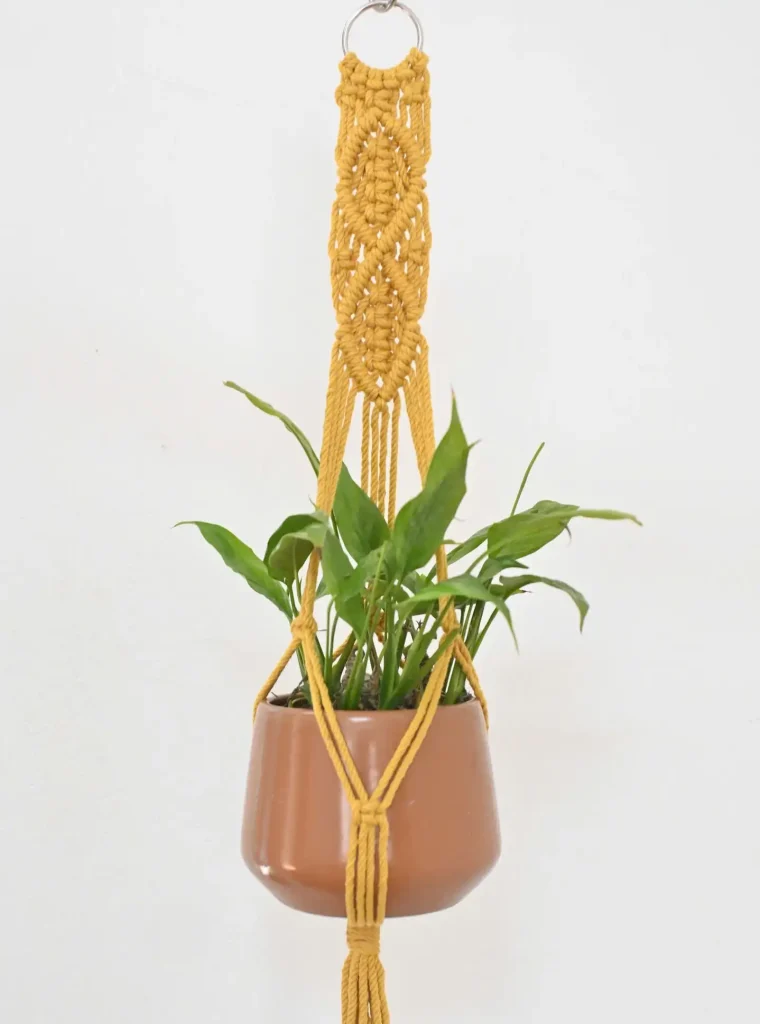
12. Classic Spiral Macrame Plant Hanger
This pattern showcases the beautiful twisted spiral knot along the full length. It is only slightly more advanced than the basic square knot pattern.
Mount four cords, then work spiral knots continuously down each pair of strands. The natural twist forms automatically as you repeat the same half-knot.
| Pattern Detail | Specifics |
|---|---|
| Skill level | Beginner |
| Main knot used | Spiral knot |
| Time to complete | 1 – 1.5 hours |
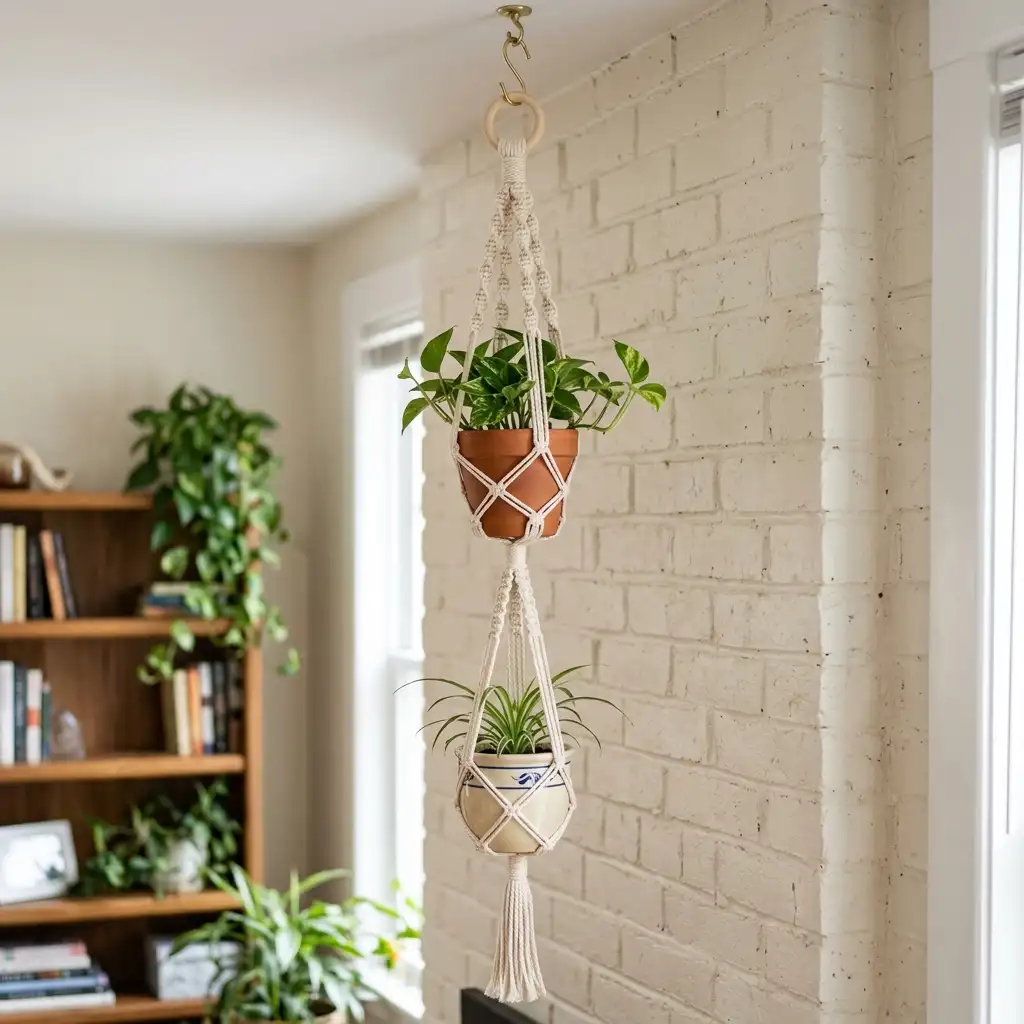
13. Double Pot Macrame Hanger Pattern
A double pot hanger holds two plants at different heights using a single ring. This design saves space and creates a beautiful tiered display.
Work the first basket section, then split the cords to create a second basket lower down. Stagger the heights for the most visually pleasing arrangement.
| Pattern Detail | Specifics |
|---|---|
| Skill level | Intermediate |
| Pots supported | Two, at staggered heights |
| Cords needed | 6 – 8 cords |
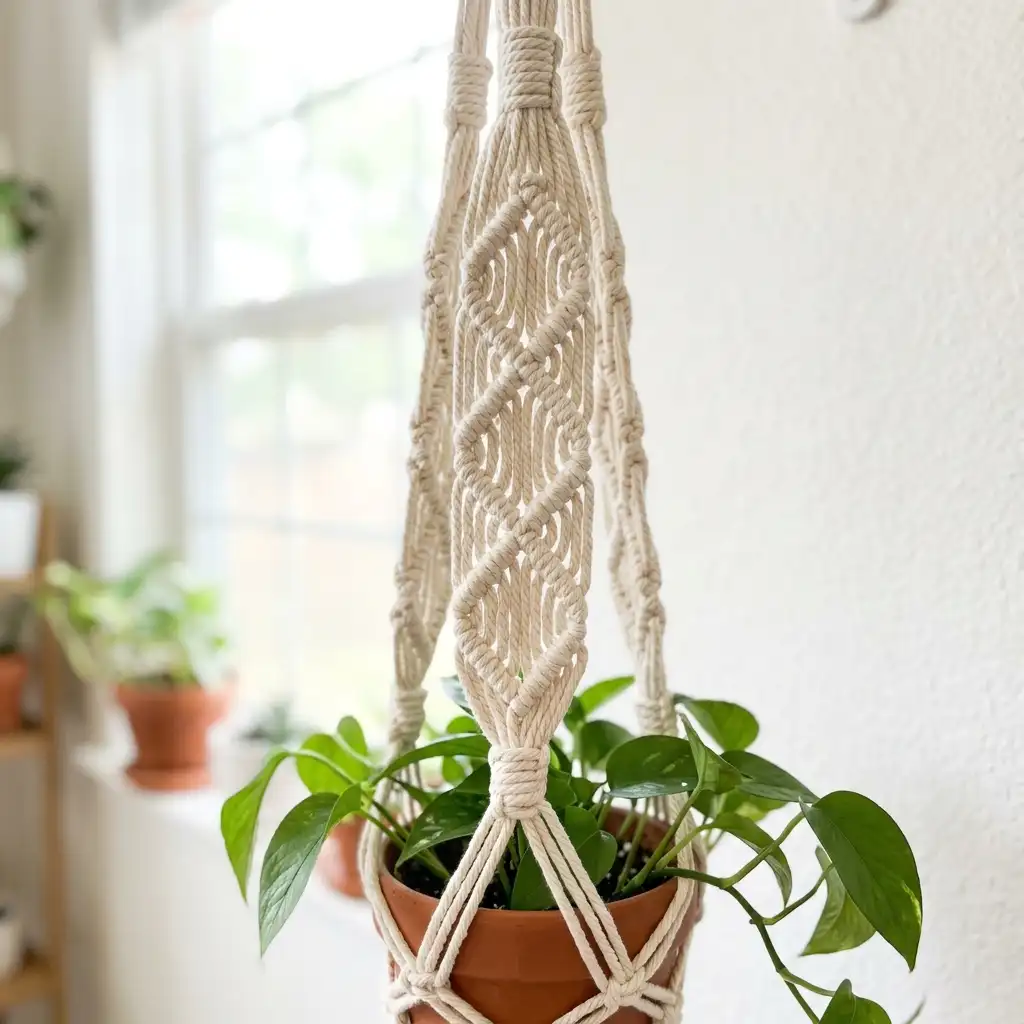
14. Diamond Pattern Macrame Hanger
The diamond pattern adds a decorative geometric design using square knots. It is a popular intermediate pattern that adds visual interest to the hanger body.
Create the diamond shape by alternating square knots between adjacent cord groups. This forms a crossing lattice pattern that resembles a diamond shape.
| Pattern Detail | Specifics |
|---|---|
| Skill level | Intermediate |
| Main technique | Alternating square knots |
| Visual effect | Diamond lattice pattern |
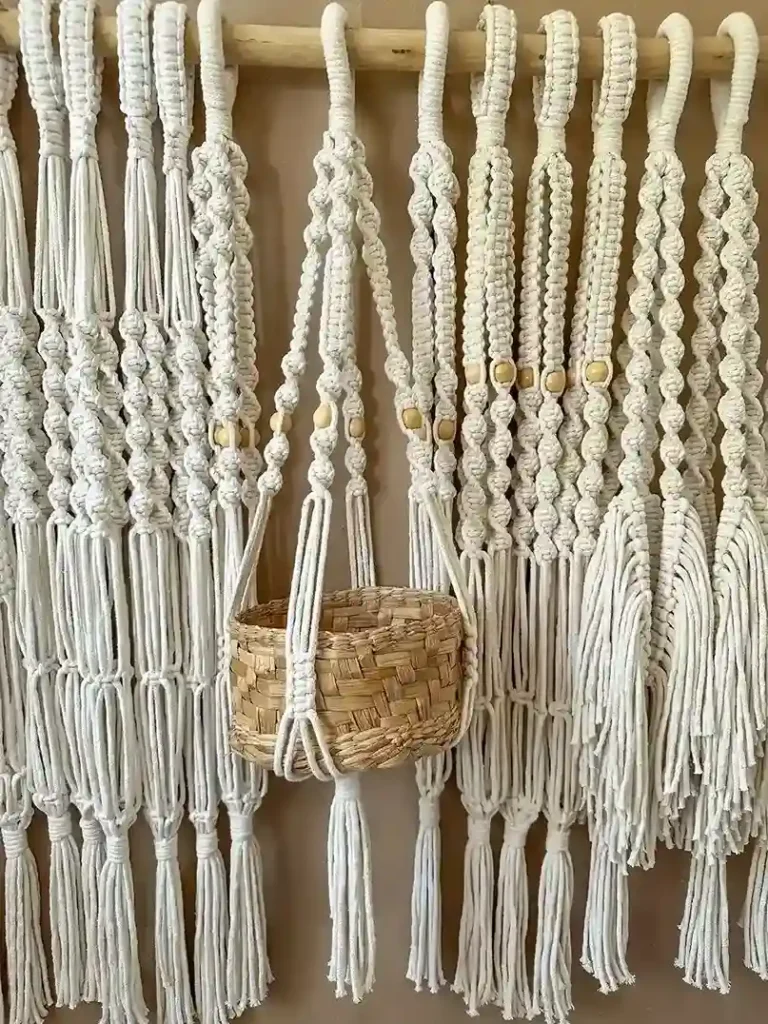
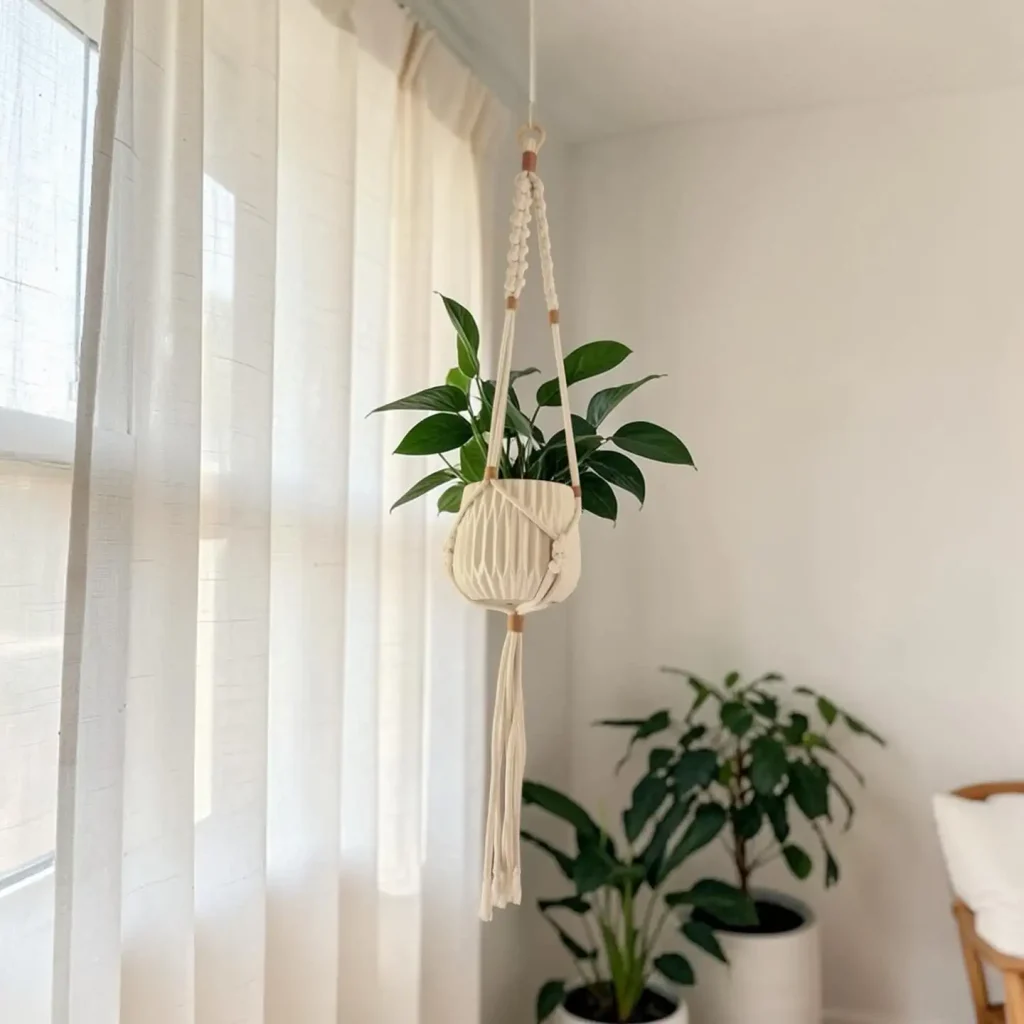
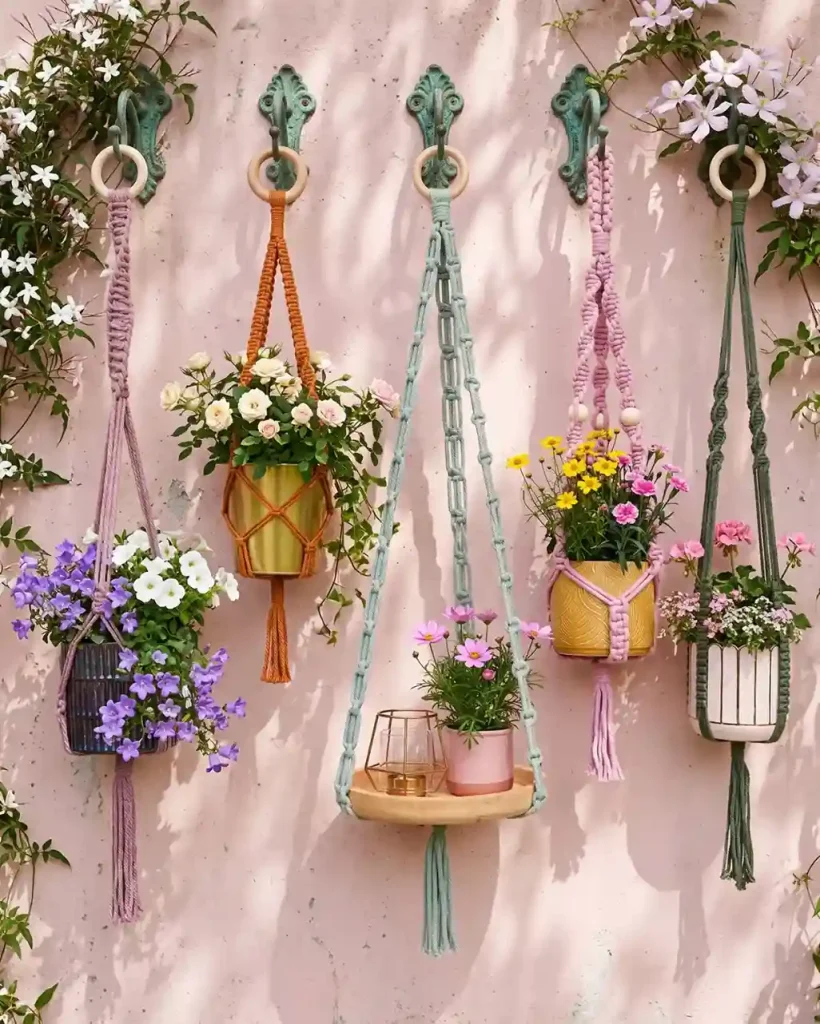
15. Boho Fringe Macrame Plant Hanger
Fringe adds movement and bohemian flair to any macrame hanger. Long, loose cord ends at the bottom create a soft, flowing finish.
After completing the basket section, leave the remaining cord unknotted as fringe. Trim the ends evenly with scissors for a clean, polished look.
| Pattern Detail | Specifics |
|---|---|
| Skill level | Beginner to intermediate |
| Finishing technique | Unknotted fringe, trimmed evenly |
| Best style | Boho, bohemian, eclectic |
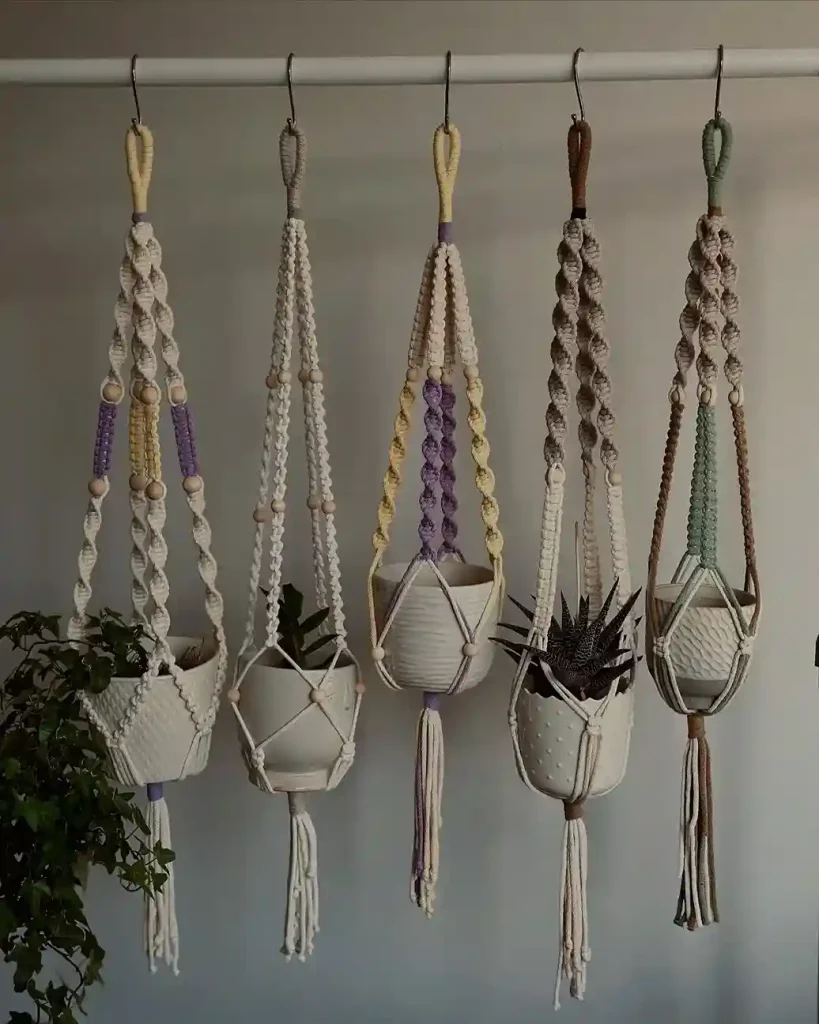
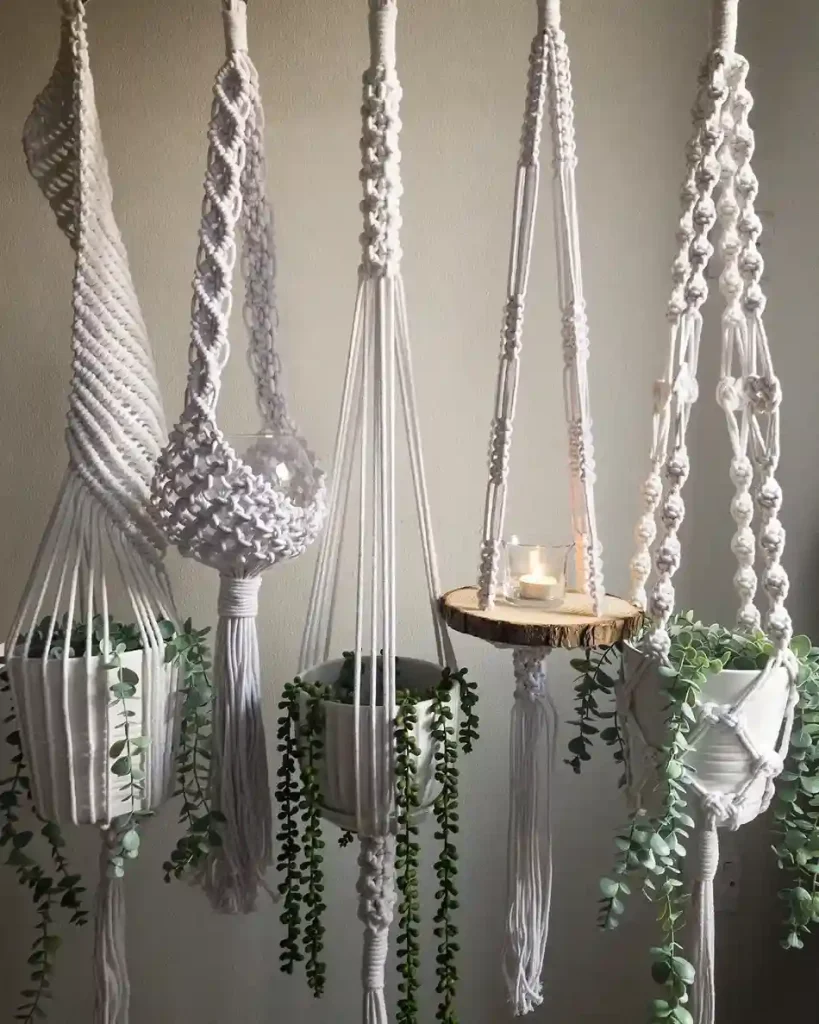
16. Wrapped Wood Bead Macrame Hanger
Wooden beads add a decorative element and natural texture to macrame hangers. They can be threaded onto cords before knotting begins for the best results.
Slide beads onto cords between knot sections to create spacing and detail. Large-hole wooden beads work best and are easy to find at craft stores.
| Pattern Detail | Specifics |
|---|---|
| Skill level | Beginner to intermediate |
| Bead placement | Between knot sections |
| Bead type | Large-hole wooden beads |
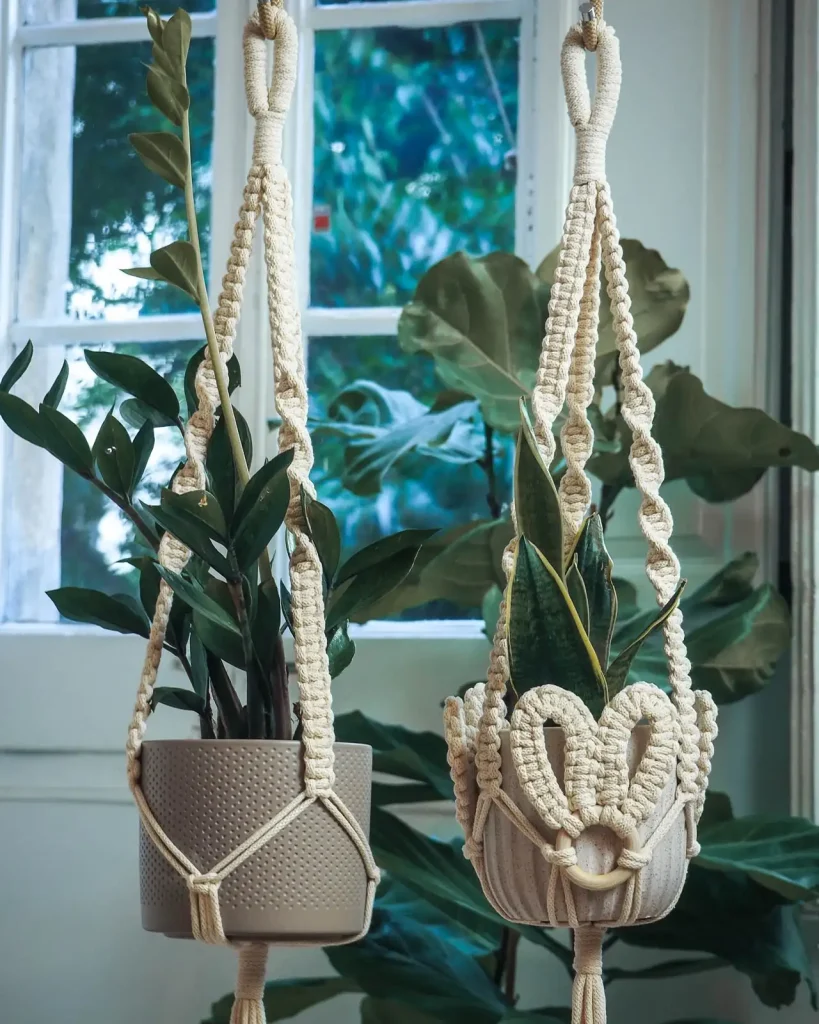
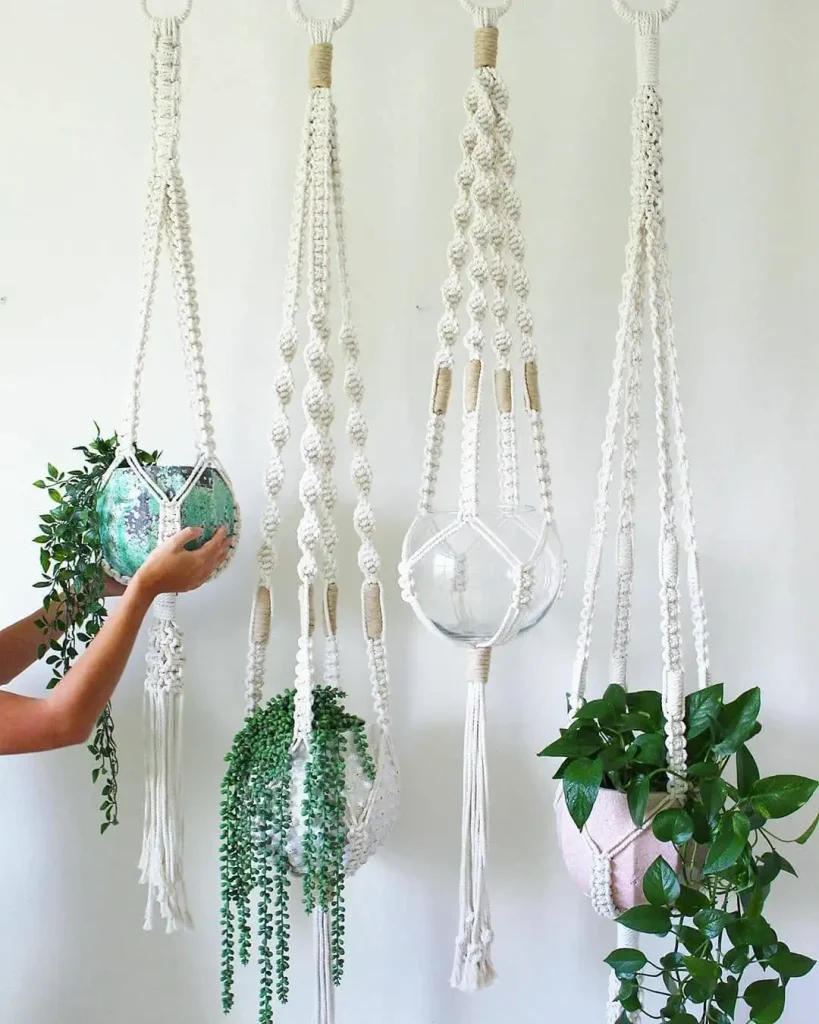
17. Multi-Strand Chunky Macrame Hanger
Chunky hangers use thick rope or doubled cords for a bold, modern look. They work up quickly and suit large pots and statement plants.
Use 3-strand cotton rope or double up regular cord for extra thickness. The larger scale makes knots more visible and dramatic in the finished piece.
| Pattern Detail | Specifics |
|---|---|
| Skill level | Beginner |
| Cord type | 3-strand rope or doubled cord |
| Best for | Large pots, statement plants |
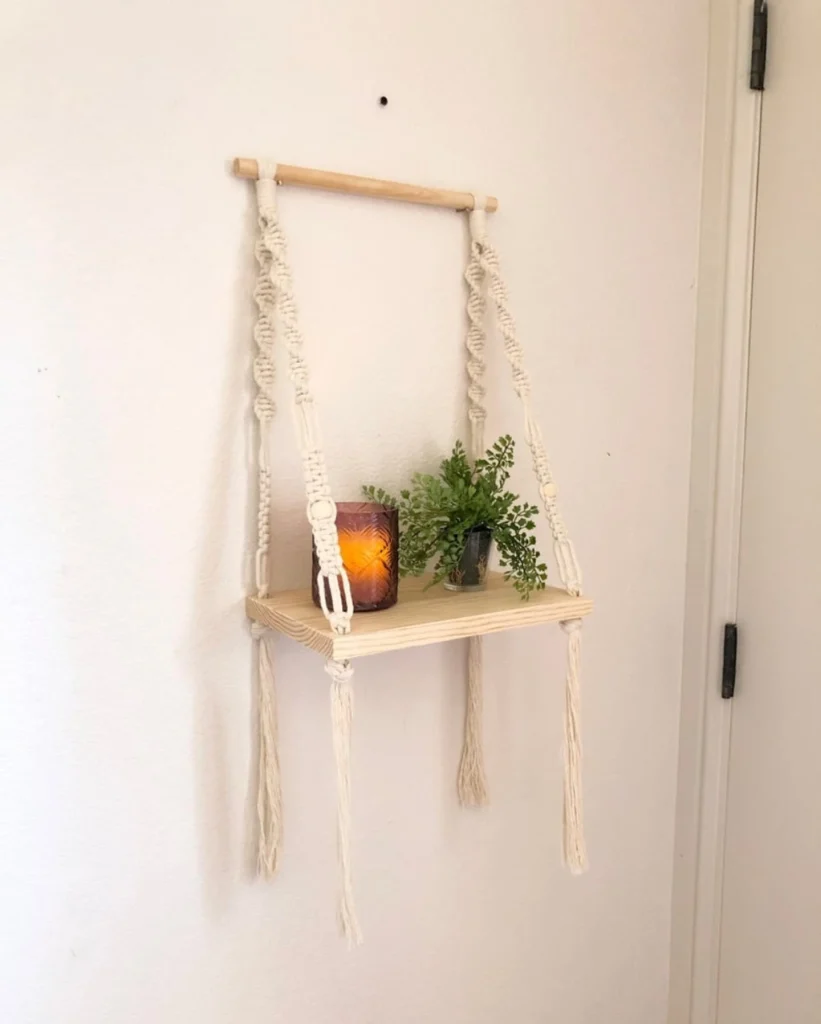
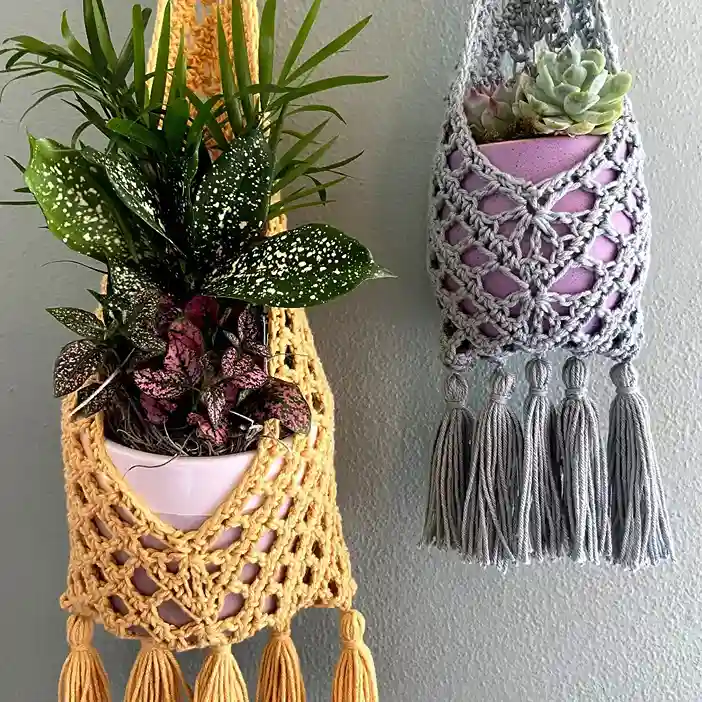
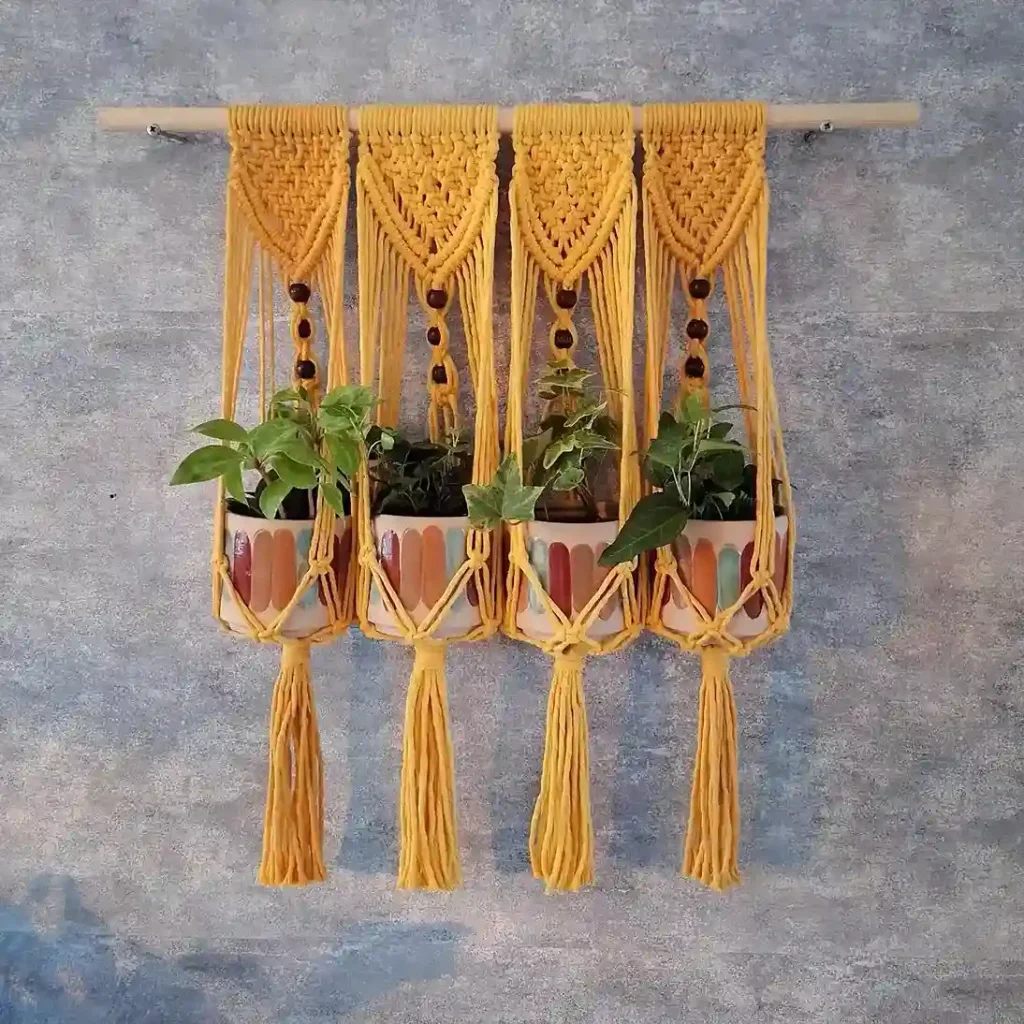
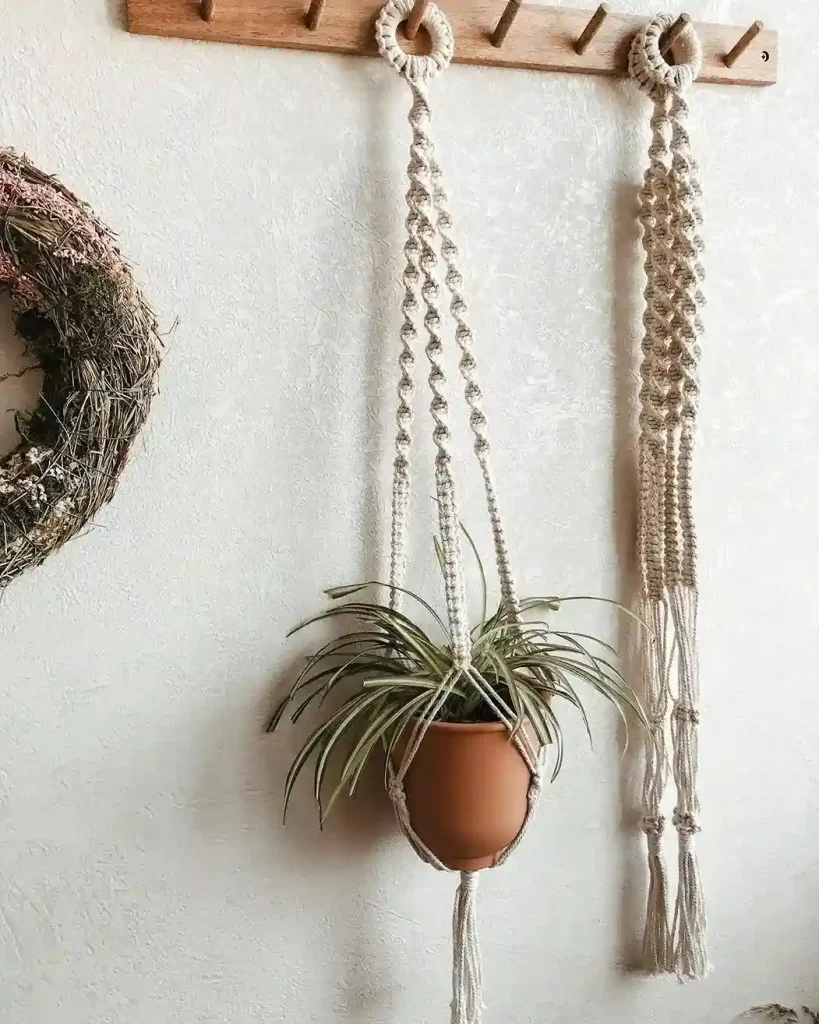
18. Wall-Mounted Macrame Plant Holder
Wall-mounted designs attach to a hook on the wall instead of the ceiling. They are perfect for renters or anyone without ceiling access for hooks.
Use a wooden dowel at the top of the design for hanging on a wall hook. This style works beautifully for small pots, succulents, and herbs.
| Pattern Detail | Specifics |
|---|---|
| Mounting | Wooden dowel on wall hook |
| Best plants | Succulents, herbs, small pots |
| Best for | Renters, apartments |
19. Outdoor Macrame Plant Hanger Pattern
Outdoor hangers need durable, weather-resistant materials. Choose cords specifically designed to handle sun, rain, and temperature changes without breaking down.
Polypropylene or nylon cord resists moisture and UV damage far better than cotton. Avoid jute and untreated cotton for any hanger left outside permanently.
| Material | Outdoor Suitability |
|---|---|
| Polypropylene cord | Excellent — fully weatherproof |
| Nylon cord | Very good — strong and UV-resistant |
| Cotton | Poor — breaks down in rain |
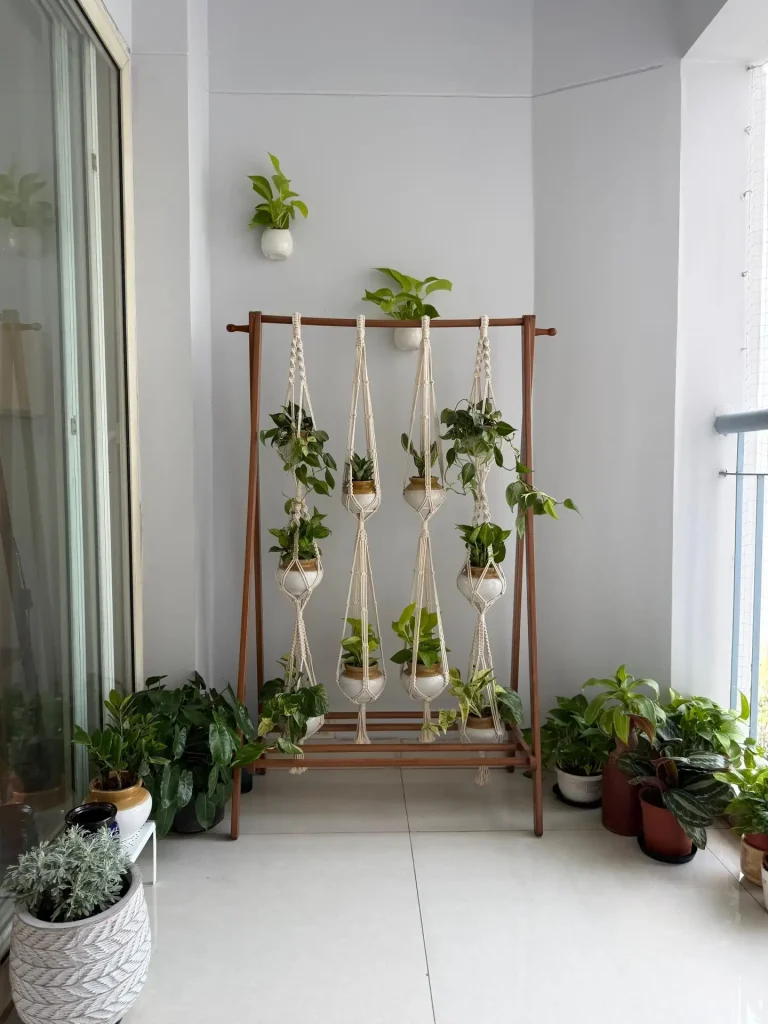
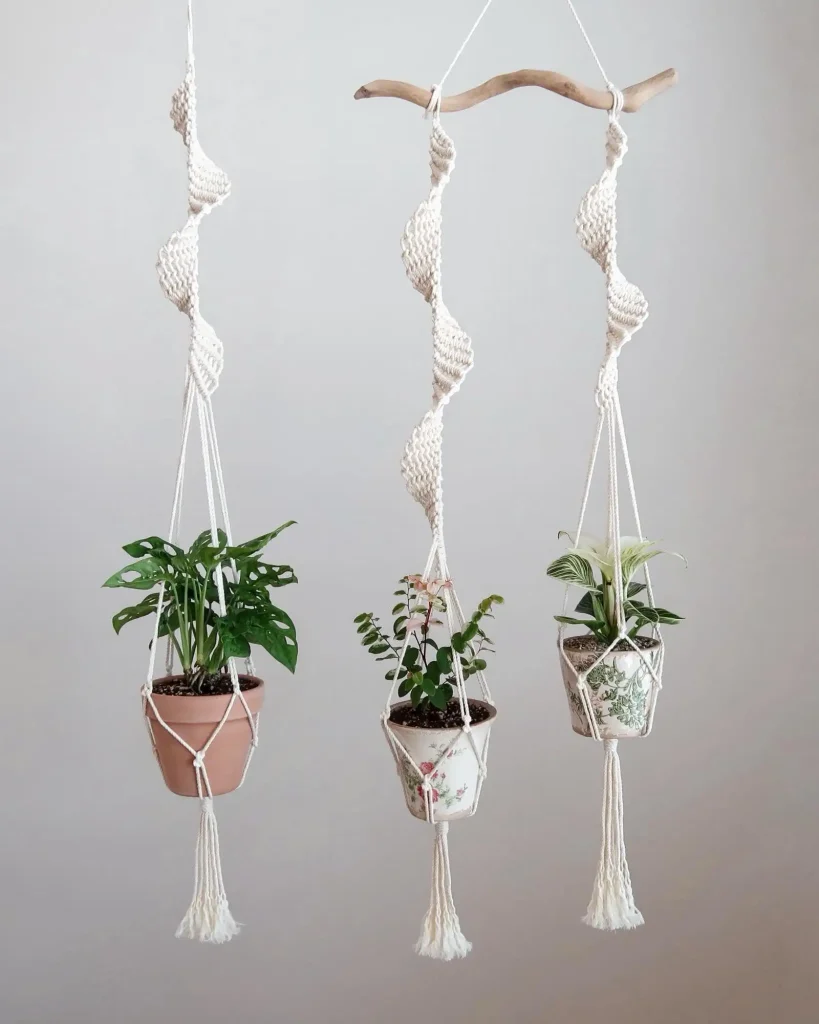
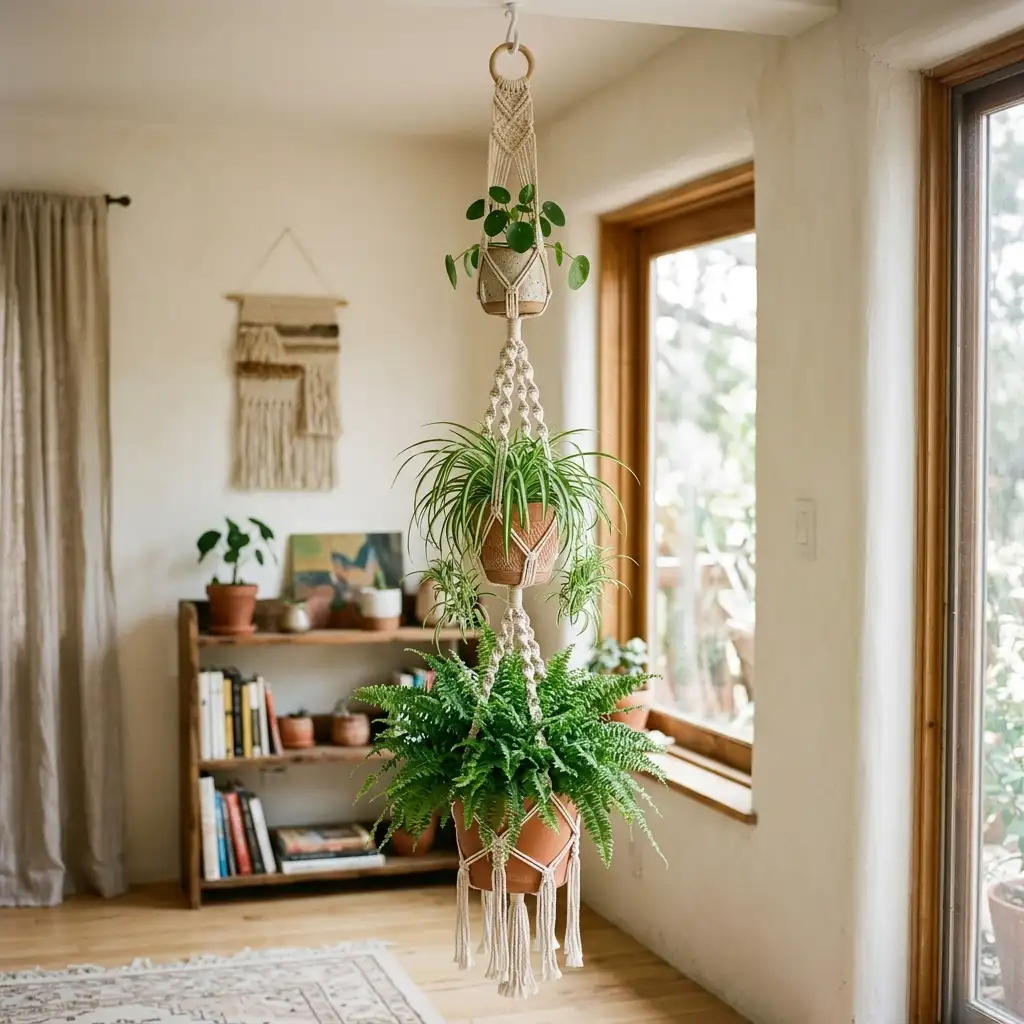
20. Triple Tier Macrame Plant Hanger
A triple tier hanger displays three plants vertically from one mounting point. It creates a stunning living wall effect in a small footprint.
Work three separate basket sections connected by long sections of unknotted or spiraled cord. Stagger heights generously for the best visual impact.
| Pattern Detail | Specifics |
|---|---|
| Skill level | Intermediate to advanced |
| Pots supported | Three, staggered heights |
| Cords needed | 8 – 12 cords |
21. How to Size Your Macrame Hanger for Your Pot
Correct sizing ensures your pot sits securely without falling through. Measure your pot’s diameter and height before choosing how many cords to use.
For pots up to 6 inches, use 4 cords. For 8 to 10 inch pots, use 6 to 8 cords for a wider, more supportive basket base.
| Pot Diameter | Cords Needed |
|---|---|
| 4 – 6 inches | 4 cords |
| 6 – 8 inches | 6 cords |
| 8 – 12 inches | 8 cords |
22. How to Hang Your Macrame Plant Hanger Safely
A beautifully made hanger needs equally secure hanging hardware. Always use a ceiling hook rated to support more weight than your hanger and plant combined.
For drywall ceilings, use a toggle bolt anchor for maximum holding strength. Wooden beams can support a simple screw hook directly without additional anchors.
| Ceiling Type | Recommended Hardware |
|---|---|
| Drywall | Toggle bolt anchor + hook |
| Wooden beam | Screw-in ceiling hook |
| Concrete | Masonry anchor + hook |
23. Caring for Your Macrame Plant Hanger
Proper care keeps your hanger looking beautiful for years. Cotton hangers can be hand washed gently and air dried when they become dusty or stained.
Avoid prolonged direct sunlight on cotton hangers indoors, as it can cause fading. Re-fluff fringe and reshape knots occasionally to keep the design looking fresh.
| Care Task | Frequency |
|---|---|
| Hand washing | Every few months as needed |
| Check hanging hardware | Monthly |
| Reshape and fluff fringe | As needed |
24. Common Macrame Mistakes to Avoid
Beginners often make a few common errors that affect the final result. Knowing these mistakes ahead of time helps you avoid frustration and wasted cord.
The biggest mistakes are cutting cords too short, uneven knot tension, and skipping a test fit with the pot. Always measure twice and test your basket before finishing.
| Common Mistake | How to Avoid It |
|---|---|
| Cords cut too short | Cut 4x the desired finished length |
| Uneven knot tension | Practice consistent pulling pressure |
| No test fit | Place pot in basket before final knots |
Frequently Asked Questions
Q: What cord is best for a macrame plant hanger?
Single strand cotton cord is the best choice for beginners. It is smooth, affordable, and easy to knot cleanly. For outdoor hangers, choose polypropylene or nylon cord for better weather resistance.
Q: How much cord do I need for a macrame plant hanger?
As a general rule, cut each cord 4 times the desired finished length. For a 3-foot hanger, you need cords around 10 to 12 feet long. Always cut a little extra to avoid running short partway through.
Q: What is the easiest macrame knot for beginners?
The square knot is the easiest and most useful knot to learn first. It forms the basis of most plant hanger patterns. The spiral knot is also very simple and creates a beautiful twisted effect with just one repeated step.
Q: How long does it take to make a macrame plant hanger?
A simple beginner pattern takes about 45 minutes to 1 hour. More detailed patterns with diamonds or multiple tiers can take 2 to 3 hours. Speed improves quickly with practice as knot tension becomes more consistent.
Conclusion
Macrame plant hangers are a wonderful blend of craft, function, and home decor. They are affordable to make, satisfying to create, and beautiful to display in any space.
Start with a simple square knot or spiral pattern to build confidence. As your skills grow, try diamond patterns, multi-tier designs, and decorative beads for more advanced projects.
With just a few basic knots and a little practice, you can fill your home with handmade macrame hangers. Pick up some cord, follow this guide, and start your first project today.