
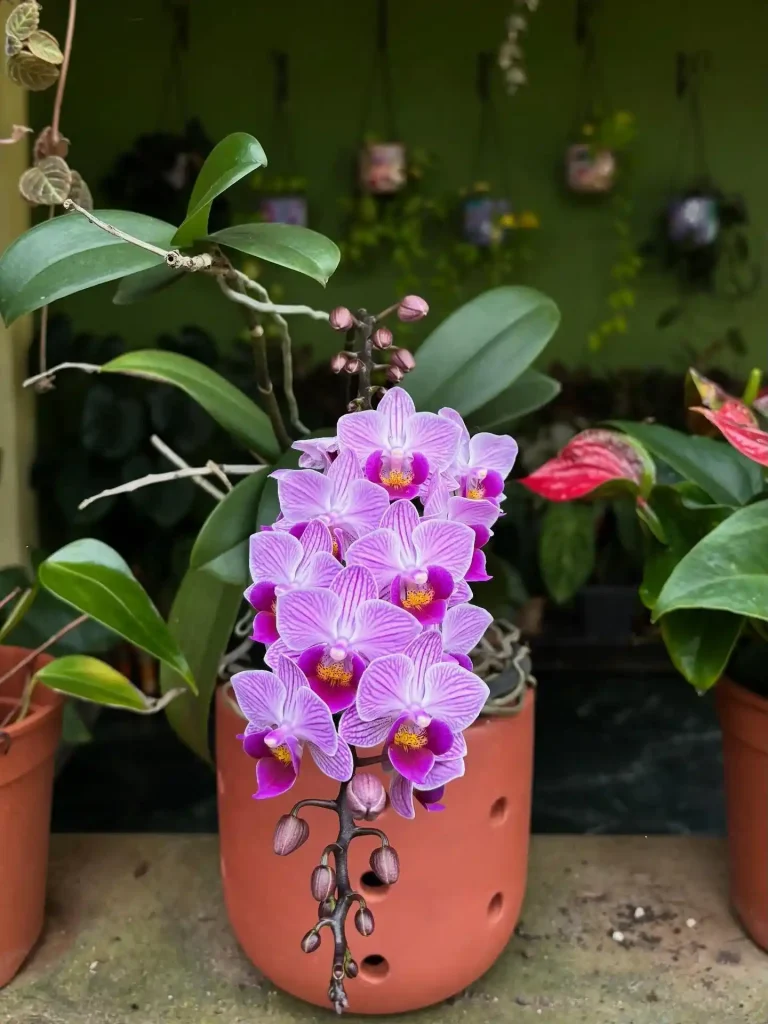
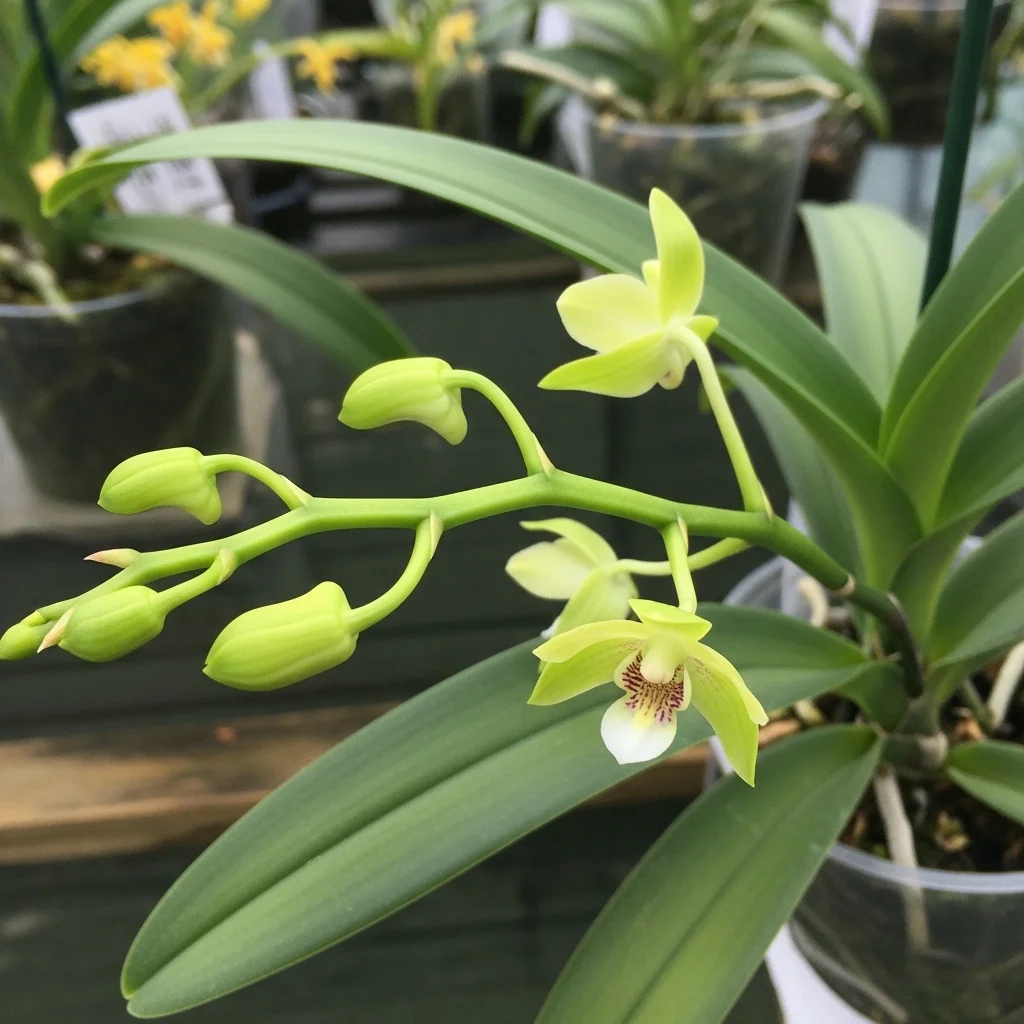
Orchids possess a remarkable will to survive despite their reputation for being finicky. Most “dead” orchids simply struggle with improper water, light, or soil conditions.
Source: @orchidianna
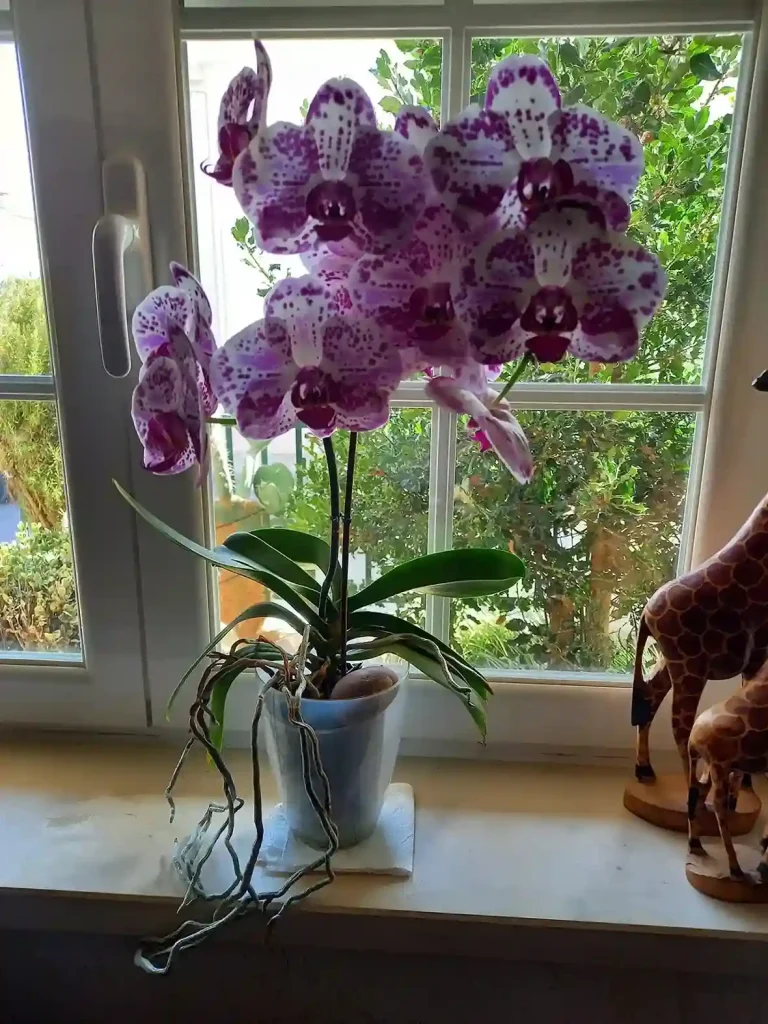
In 2026, the trend of sustainable plant care encourages homeowners to save rather than replace their greenery. You move away from discarding wilting plants and embrace the rewarding process of restoration. You transform a struggling specimen into a thriving, vibrant centerpiece once again.
Source: @orchidianna
| Symptom | Probable Cause | Immediate Action |
|---|---|---|
| Yellow Leaves | Too much sun or water | Move to shade/Check roots |
| Wrinkled Leaves | Dehydration | Increase humidity/Watering |
| No Blooms | Insufficient light | Move to a brighter window |
How to Bring an Orchid Plant Back to Life
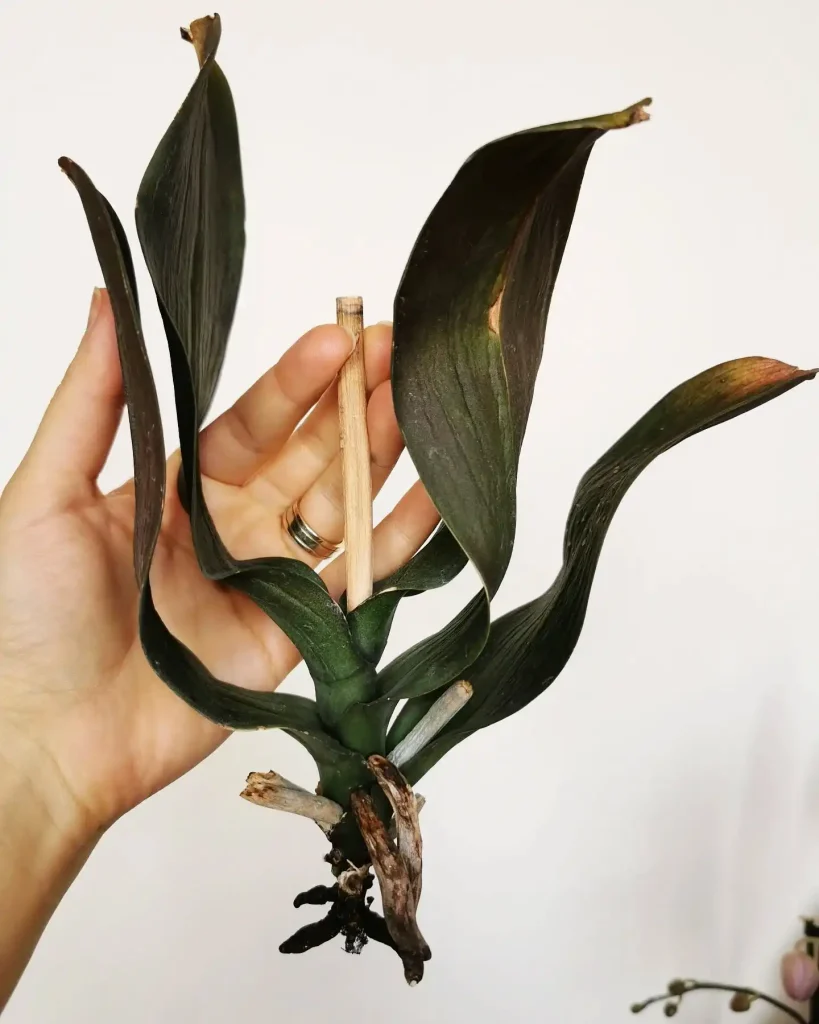
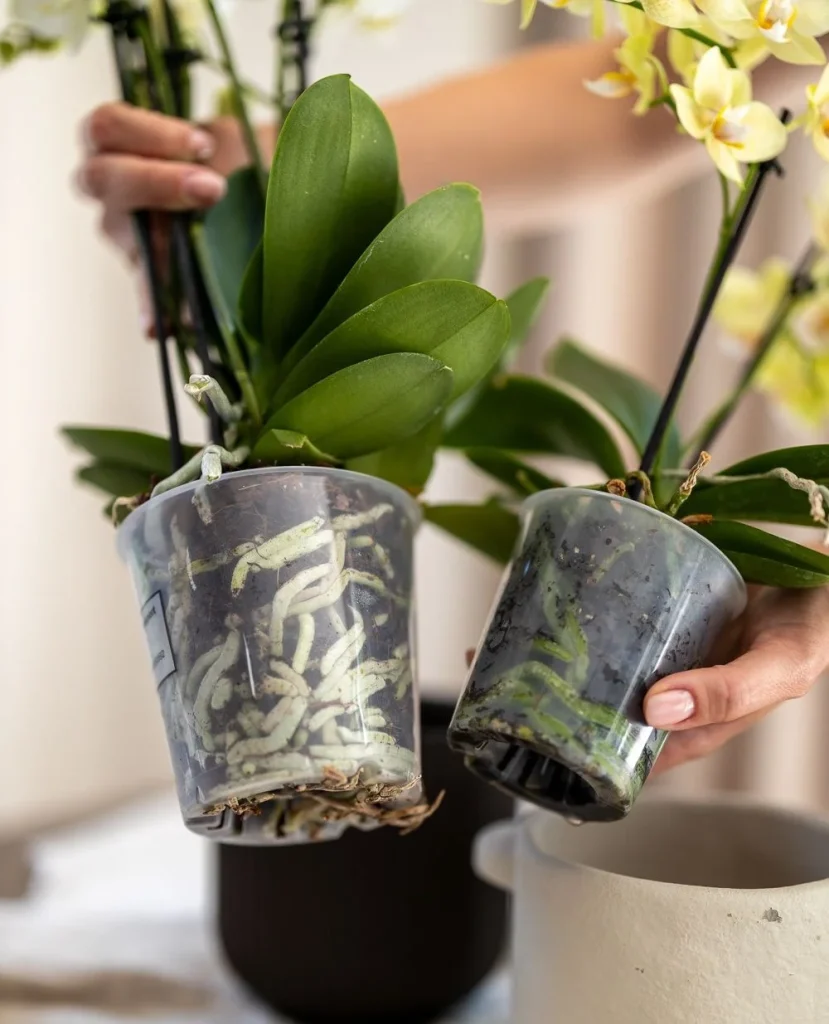
Assess the Health of the Root System
The secret to a healthy orchid lies beneath the surface. You remove the plant from its pot to inspect the roots. Healthy roots look firm and green or silvery-white. Mushy, brown, or black roots indicate rot from overwatering. This inspection forms the foundation of your recovery plan.
Source: @florirorquideas
| Root Color | Condition | Action Needed |
|---|---|---|
| Green/Silver | Healthy | Leave alone |
| Black/Mushy | Rotting | Trim immediately |
| Dry/Brittle | Dehydrated | Soak in water |
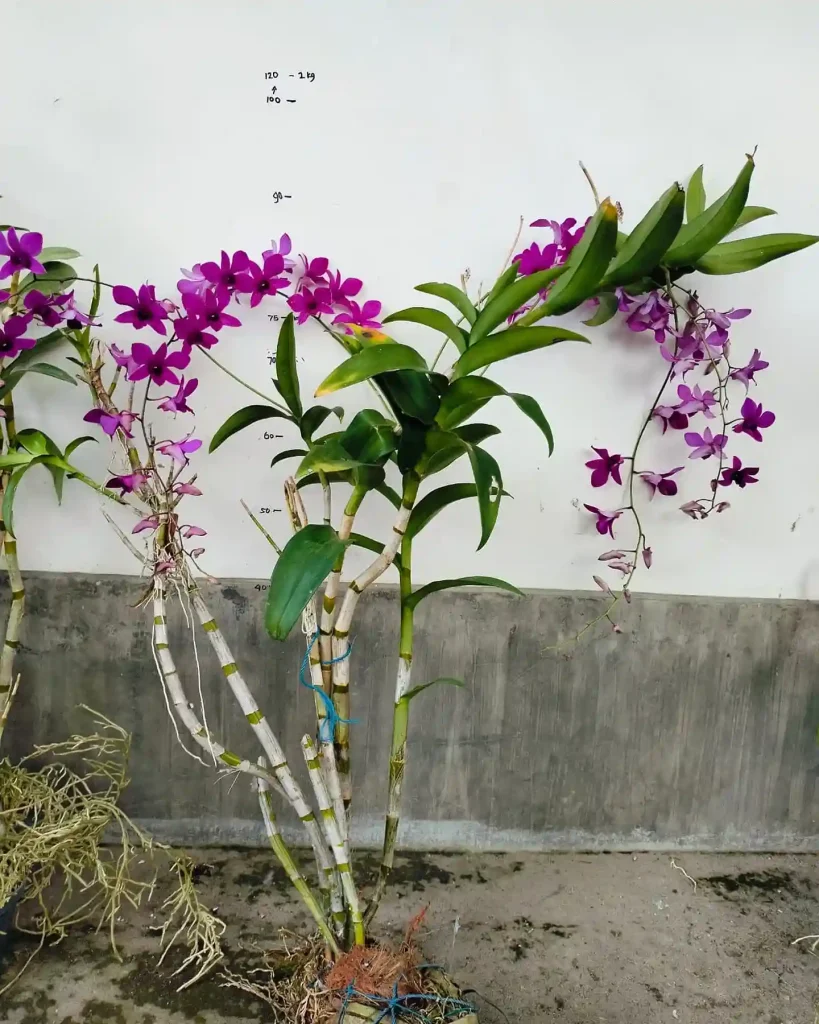
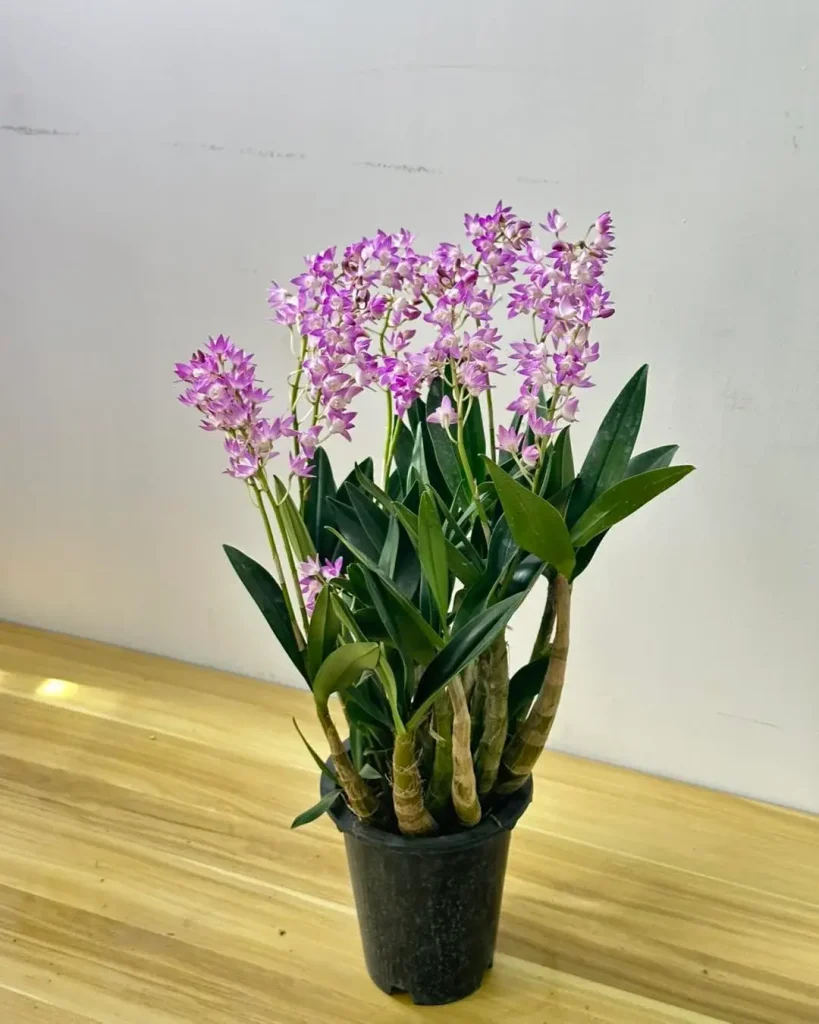
Trim Away Dead or Rotting Tissue
You use sterilized shears to remove any compromised parts of the plant. You cut back mushy roots until you reach healthy, firm tissue. If the flower spike is brown and dry, you prune it back to the base. This directs the plant’s energy toward survival rather than a dying stem. This mirrors the care you give to indoor plants to prevent disease spread.
Source: @gudang_anggrek_tulungagung
| Plant Part | Trim Point | Purpose |
|---|---|---|
| Dead Roots | Above the rot | Stops fungal spread |
| Brown Spike | Base of the plant | Conserves energy |
| Yellow Leaf | Where it meets stem | Improves aesthetics |
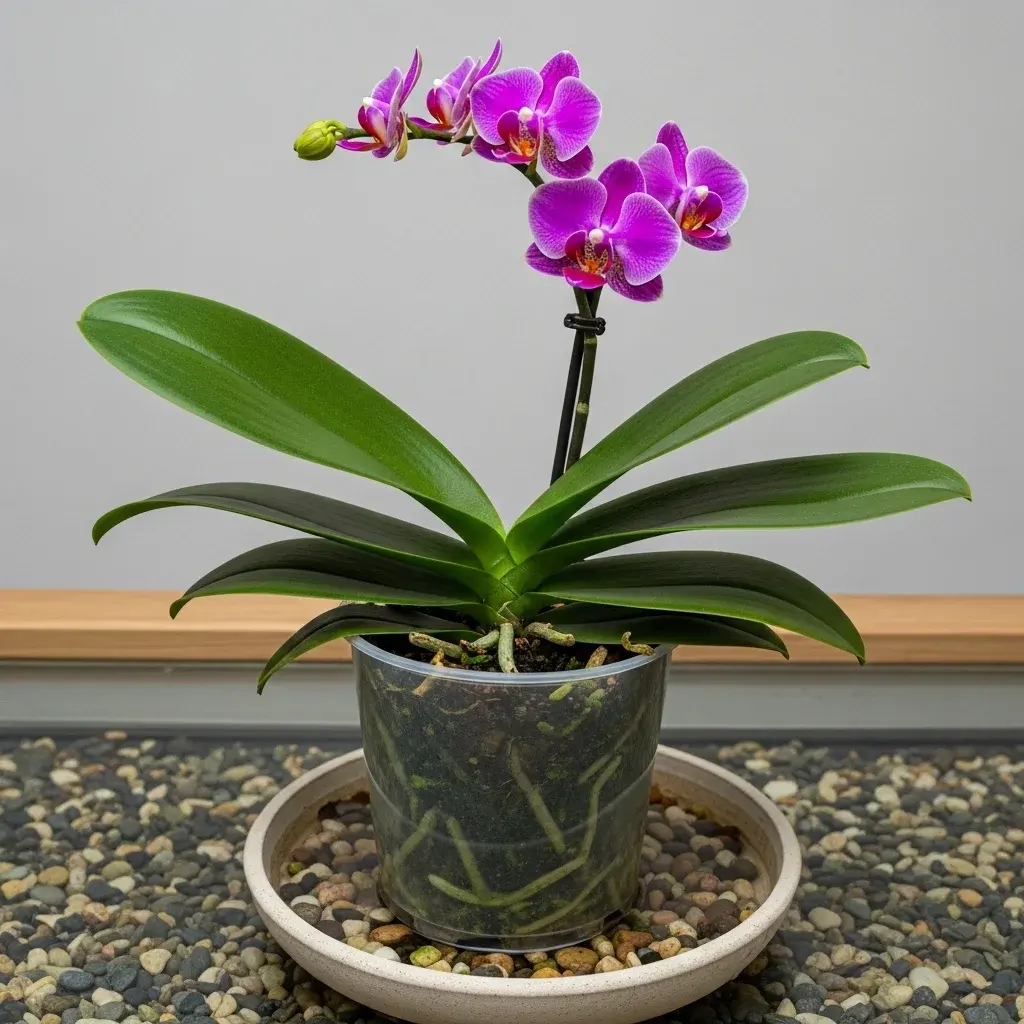
Repot in Fresh Orchid Bark
Old, decomposed potting media suffocates orchid roots. You discard the old moss or bark and replace it with a fresh, airy orchid mix. This mix typically contains bark, charcoal, and perlite to ensure maximum airflow. You choose a pot with excellent drainage holes to prevent future rot. This follows the logic found in backyard landscaping ideas where soil aeration remains a priority.
| Media Type | Drainage | Airflow |
|---|---|---|
| Pine Bark | High | Excellent |
| Sphagnum Moss | Moderate | Low |
| Perlite | Very High | Excellent |
Master the Art of Proper Hydration
Orchids do not like to “sit” in water. You use the “soak and drain” method to hydrate your plant without drowning it. You place the pot in a sink and run lukewarm water through the media for several minutes. You allow all excess water to drain completely. This prevents the stagnant conditions mentioned in a water plants guide.
| Watering Method | Frequency | Best For |
|---|---|---|
| Soak & Drain | Weekly | General maintenance |
| Ice Cube | Not recommended | Risk of root chill |
| Misting | Daily | Increasing humidity |
Adjust Light Levels for Recovery
Orchids need bright, indirect light to produce the energy required for a comeback. You place your plant near an east-facing window where it receives gentle morning sun. Direct afternoon sun scorches the leaves. This environmental adjustment fits the principles used in a vertical gardening guide for light management.
| Window Direction | Light Quality | Orchid Benefit |
|---|---|---|
| East | Bright/Soft | Ideal for recovery |
| West | Hot/Direct | Too intense |
| North | Low/Cool | May delay blooming |
Boost Humidity to Reduce Stress
Orchids thrive in moist air. You place the pot on a tray filled with pebbles and a small amount of water. You ensure the bottom of the pot does not touch the water. As the water evaporates, it creates a humid micro-climate around the leaves. This creates a “jungle” vibe similar to a hippie garden bohemian outdoor.
| Humidity Method | Effort | Impact |
|---|---|---|
| Pebble Tray | Low | Consistent |
| Humidifier | Moderate | High |
| Grouping Plants | Low | Moderate |
Apply Weak Fertilizer Regularly
You feed your orchid “weekly, weakly” once you see signs of new root or leaf growth. You use a specialized orchid fertilizer diluted to half-strength. This provides the necessary nutrients for the plant to build new tissue. This balanced feeding plan ensures your best outdoor plants and indoor specimens remain robust.
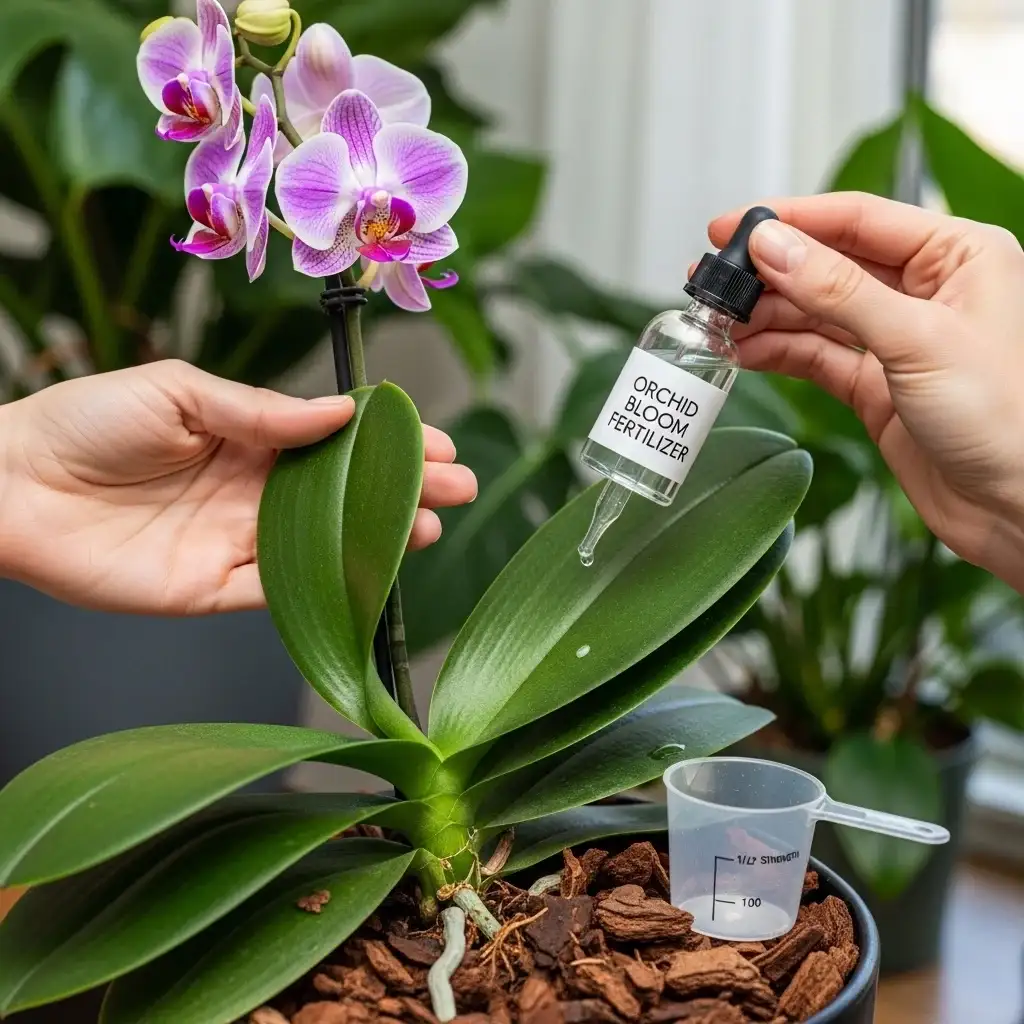
| Fertilizer Type | Dilution | Frequency |
|---|---|---|
| Liquid 20-20-20 | 1/2 Strength | Every two weeks |
| Slow Release | Full Strength | Every six months |
| Organic Spray | Ready to use | Weekly |
Clean Leaves to Improve Photosynthesis
Dust blocks sunlight and clogs the pores of the orchid leaves. You wipe the leaves gently with a damp cloth once a month. This simple step allows the plant to breathe and process light more efficiently. Clean, glossy leaves signal a healthy, reviving plant. It matches the polished look of the best shrubs for front of house.
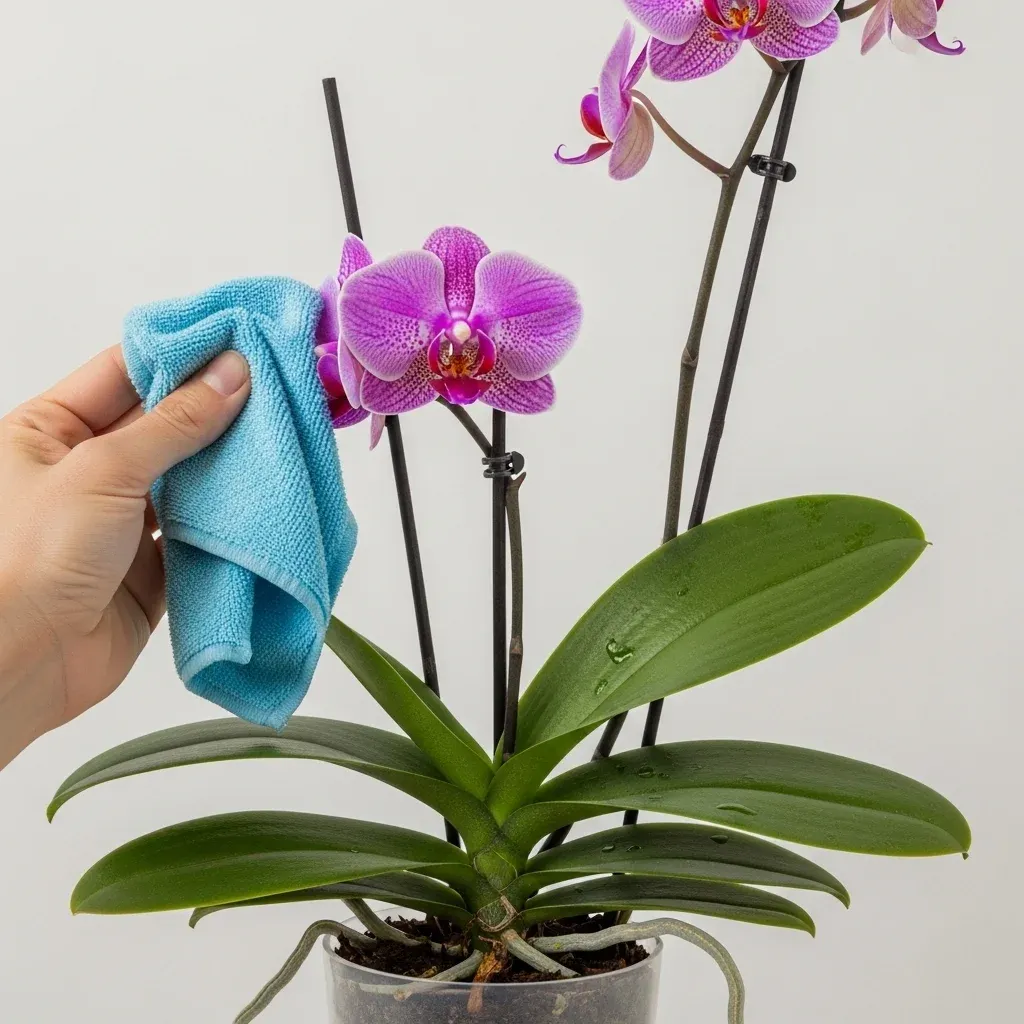
| Cleaning Tool | Benefit | Result |
|---|---|---|
| Microfiber Cloth | Removes dust | Better light absorption |
| Lemon Juice/Water | Removes hard water spots | High gloss shine |
| Neem Oil | Prevents pests | Protective layer |
Provide Air Circulation to Prevent Rot
Stagnant air encourages fungal growth and bacterial rot. You place a small fan near your orchid to keep the air moving. You ensure the fan does not blow directly onto the plant. Good circulation mimics the breezy environments where orchids grow in the wild. This step protects your privacy fence ideas from becoming a trap for humid, still air.
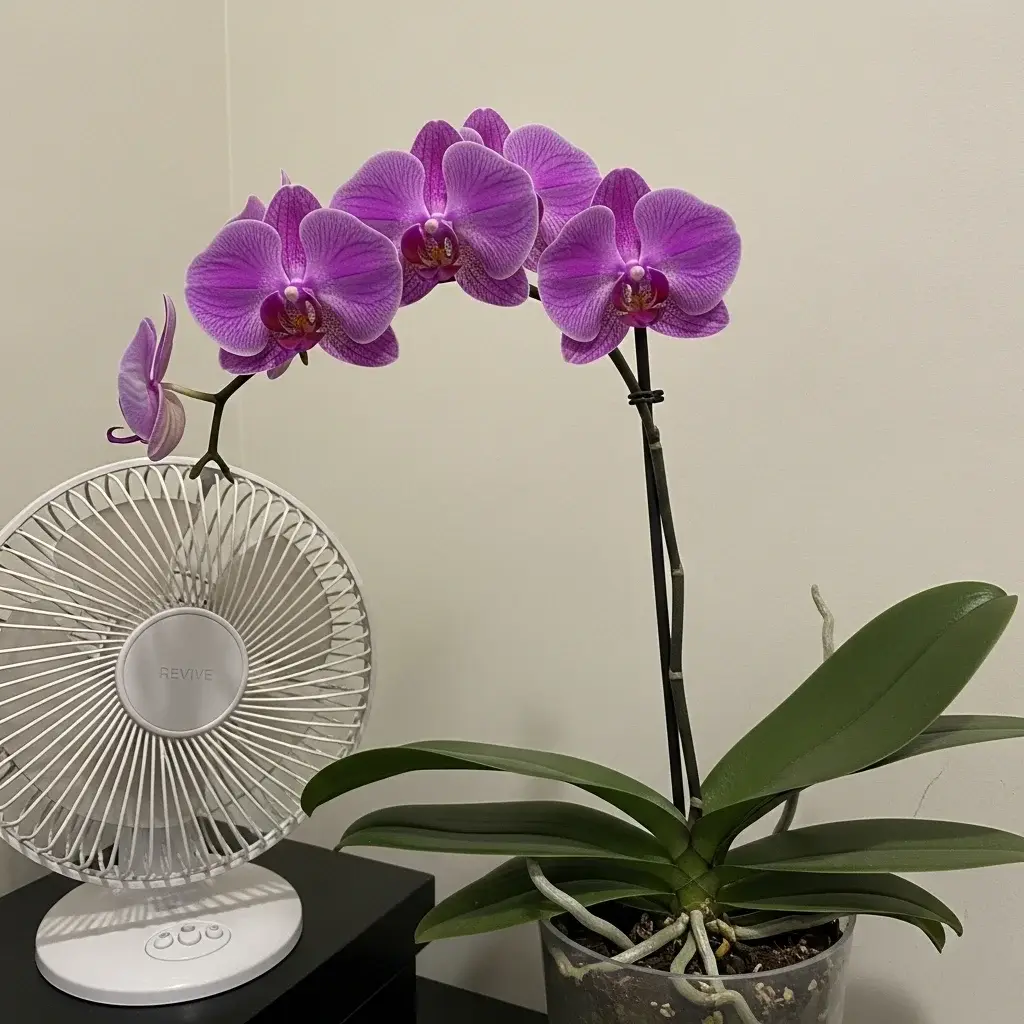
| Air Source | Distance | Effect |
|---|---|---|
| Oscillating Fan | 5–10 feet | Prevents fungal spores |
| Open Window | Varies | Natural breeze (temp dependent) |
| Ceiling Fan | Overhead | Gentle overall movement |
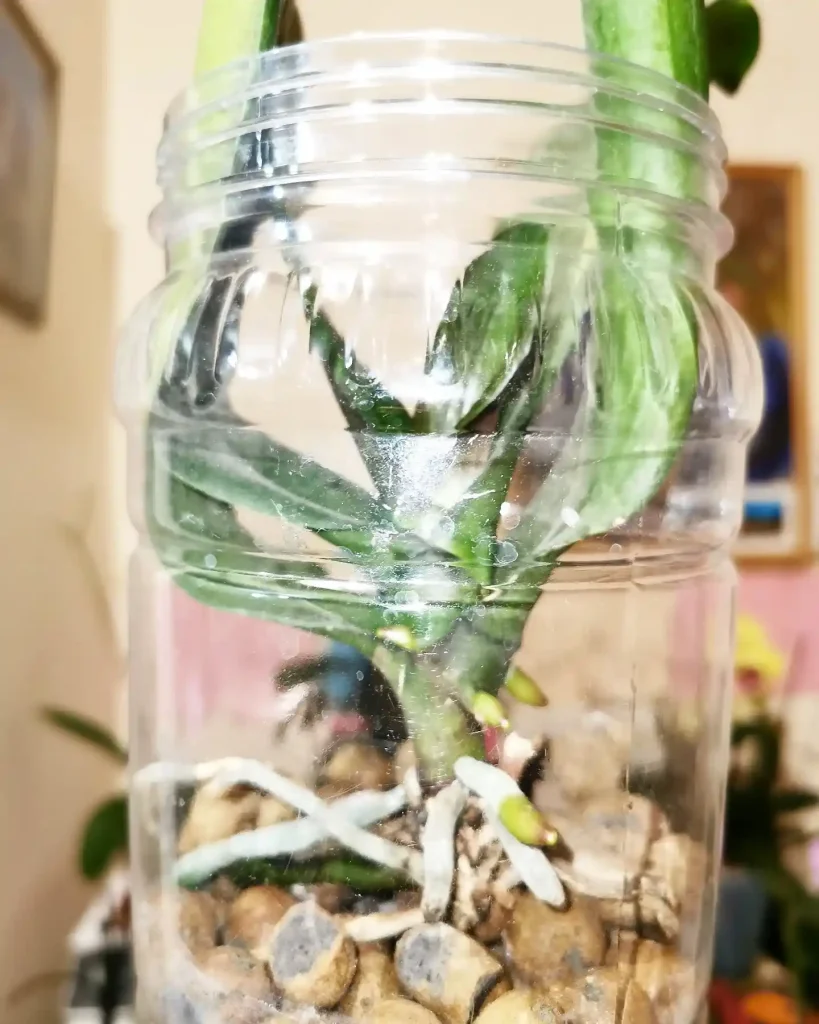
Watch for Signs of New Root Growth
New root tips appear as bright green or reddish points on the stem or old roots. You celebrate these signs as the first true evidence of recovery. You avoid touching these sensitive new tips. They represent the plant’s renewed ability to drink and feed. This growth mirrors the resilience found in tree landscaping ideas.
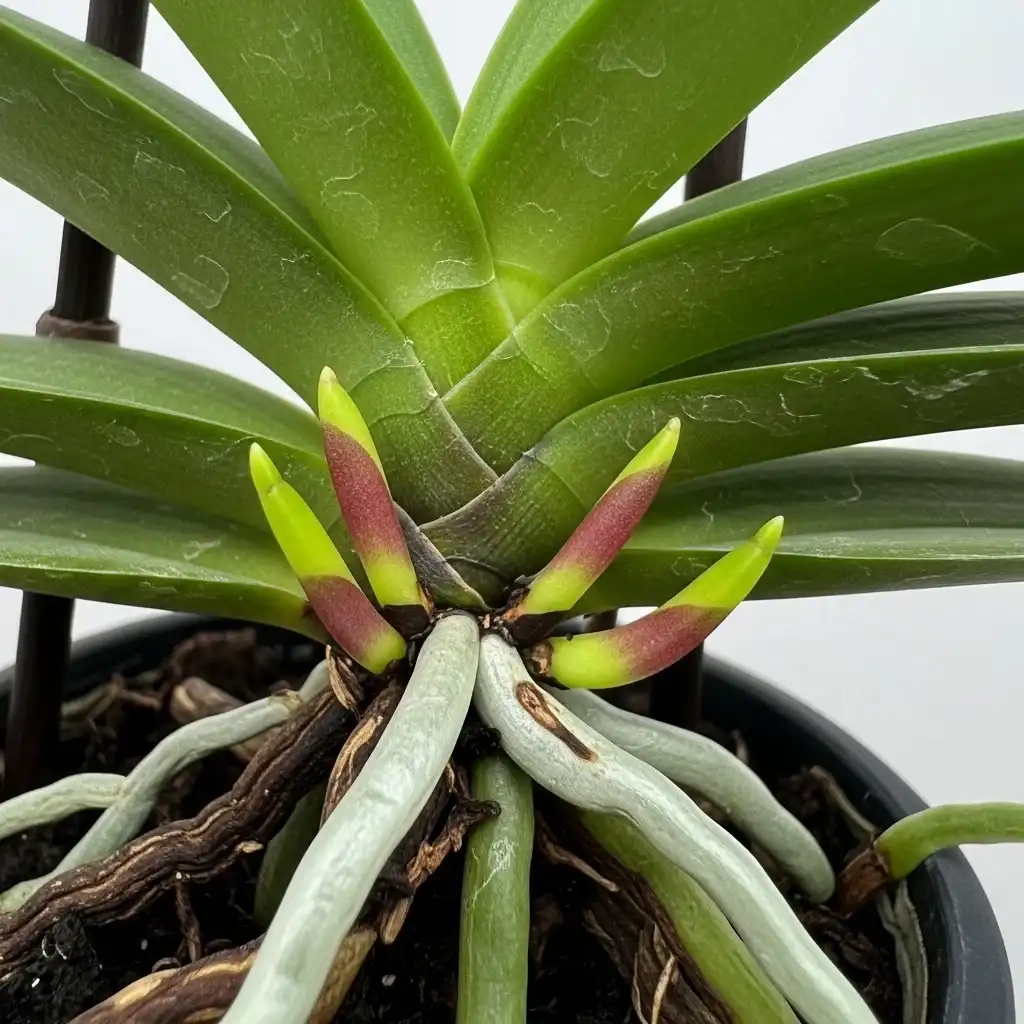
| Root Sign | Appearance | Meaning |
|---|---|---|
| Green Tips | Bright/Vibrant | Active growth |
| Red Tips | Sharp/Pointy | Healthy new expansion |
| White Velamen | Silvery skin | Root is maturing |
Stimulate Dormant Buds on Spikes
If the flower spike remains green, you might see a dormant “node” or bump. You apply a small amount of keiki paste to these nodes to stimulate growth. This can result in a new branch of flowers or even a baby orchid (keiki). This advanced technique fits the creative spirit of pallet garden ideas.
| Application | Tool | Expected Result |
|---|---|---|
| Keiki Paste | Toothpick | New growth from node |
| Pruning | Sterilized Shears | Encourages energy shift |
| Support | Bamboo Stake | Holds new growth upright |
Maintain Consistent Temperatures
Orchids dislike sudden temperature swings or cold drafts. You keep your plant in a room with steady temperatures between 65°F and 80°F. You move the plant away from AC vents or heaters. Consistent warmth encourages steady metabolic activity. This focus on stability matches the needs of a front yard landscaping project in a temperate climate.
| Time of Day | Ideal Range | Purpose |
|---|---|---|
| Daytime | 75°F–80°F | Photosynthesis support |
| Nighttime | 65°F–70°F | Mimics natural cooling |
| Temperature Drop | 10°F difference | Triggers bloom cycle |
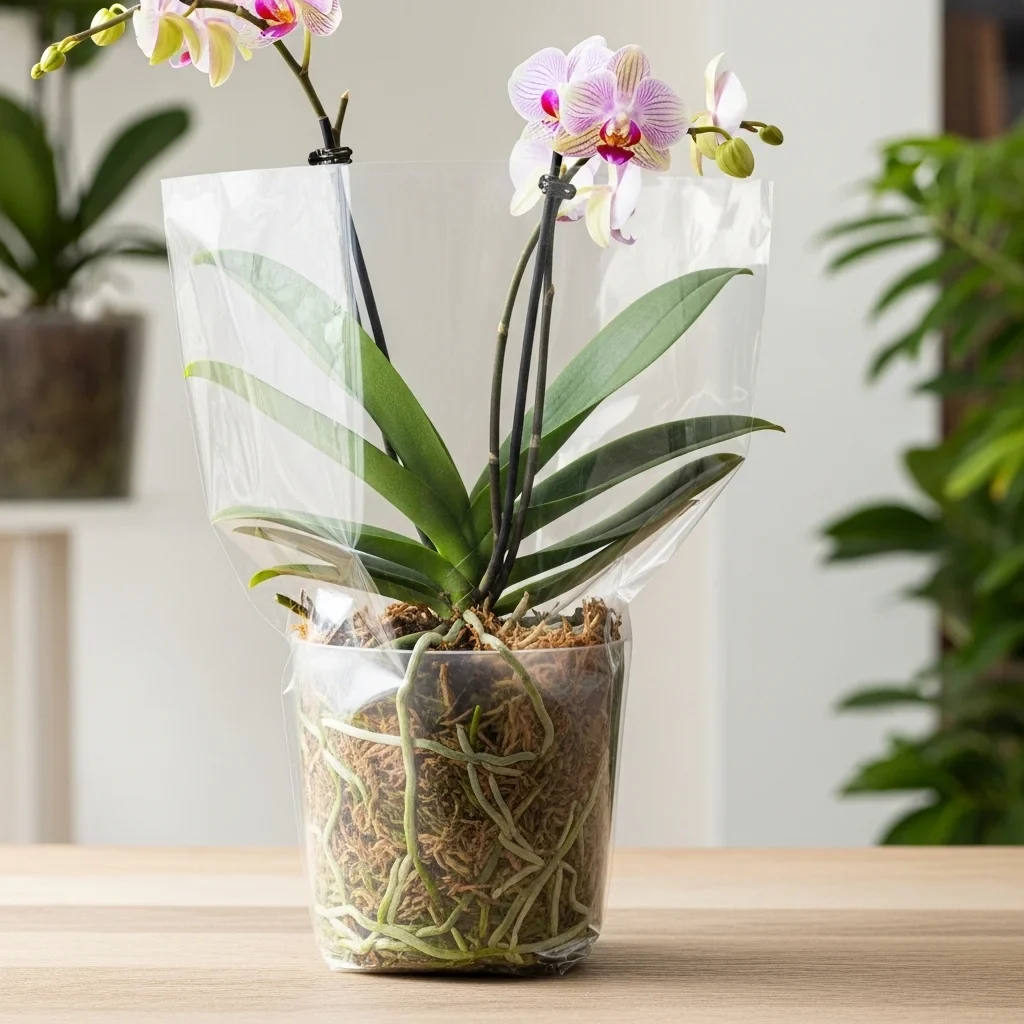
Use the “Sphag and Bag” Method for Rootless Plants
If your orchid has lost all its roots, you use a clear plastic bag to save it. You place the orchid on top of damp (not wet) sphagnum moss inside the bag. You seal the bag and place it in a warm, shady spot. This creates a high-humidity chamber that forces the plant to sprout roots. This DIY approach matches the thriftiness of cheap landscaping ideas.
| Component | Status | Role |
|---|---|---|
| Plastic Bag | Clear/Sealed | Traps humidity |
| Sphagnum Moss | Damp | Provides moisture source |
| Light | Indirect | Prevents “cooking” inside |
Monitor Leaf Color for Light Feedback
Your orchid tells you if it receives the right amount of light through its leaves. Bright, grassy-green leaves indicate perfect light levels. Dark green leaves suggest the plant needs more light. Reddish or purple tints signal the plant receives too much sun. This feedback loop ensures your walkway ideas outdoor space and indoor displays look their best.
| Leaf Color | Light Status | Required Action |
|---|---|---|
| Forest Green | Too Low | Move closer to light |
| Grassy Green | Perfect | Maintain position |
| Yellow/Red | Too High | Provide sheer curtain |
Be Patient During the “Vegetative” Phase
An orchid focuses on rebuilding its body before it produces flowers. You might see new leaves and roots for months without a single bloom. You continue the care routine without frustration. A strong vegetative phase leads to a more spectacular bloom later. This long-term view is essential for anyone utilizing a front yard fence for curb appeal.

| Growth Phase | Priority | Visual Sign |
|---|---|---|
| Root Growth | Foundation | Green tips in bark |
| Leaf Growth | Energy | New leaf from center |
| Spiking | Reproduction | Tiny green “mitten” node |
Orchid Revival FAQs
How long does it take for an orchid to bloom again?
An orchid in recovery focuses on roots and leaves first. You expect a new flower spike in 6 to 12 months once the plant feels stable. You maintain patience and focus on the health of the green leaves as a sign of progress.
Can I revive an orchid with no roots?
Yes, you use the “Sphag and Bag” method. You place the base of the orchid in a clear plastic bag with damp sphagnum moss. You seal the bag to create a mini-greenhouse. This high humidity encourages the plant to sprout new “aerial” roots.
Why are my orchid’s leaves limp and leathery?
Limp leaves signal a lack of water reach. This occurs either because you do not water enough or because the roots have rotted and cannot absorb moisture. You check the roots immediately to determine which issue you face.
How do I know if I am overwatering my orchid?
If the bark stays wet for more than a week, or if you see algae growing inside the pot, you water too often. You also check for yellowing leaves that feel soft or mushy at the base. Consult a guide on sloped backyard ideas on a budget to understand drainage importance.
Conclusion
Reviving an orchid requires patience, observation, and a gentle touch. You move past the fear of failure and treat each wilted leaf as a puzzle to solve.
By inspecting roots, providing the right bark, and balancing light and water, you give your plant a second chance. Your orchid rewards your effort with glossy new leaves and eventually, a stunning display of flowers. Embrace the process of renewal, and your home will once again shine with the elegance of a thriving bloom.