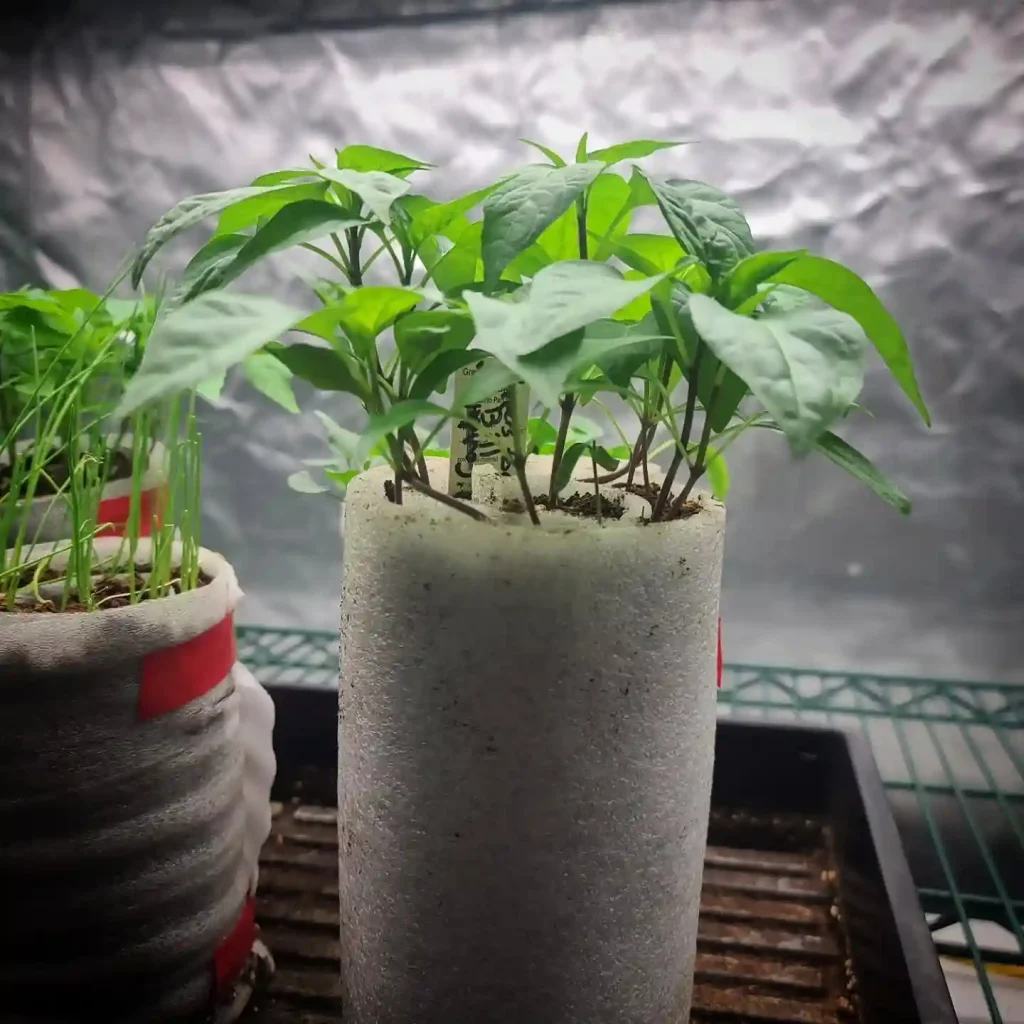
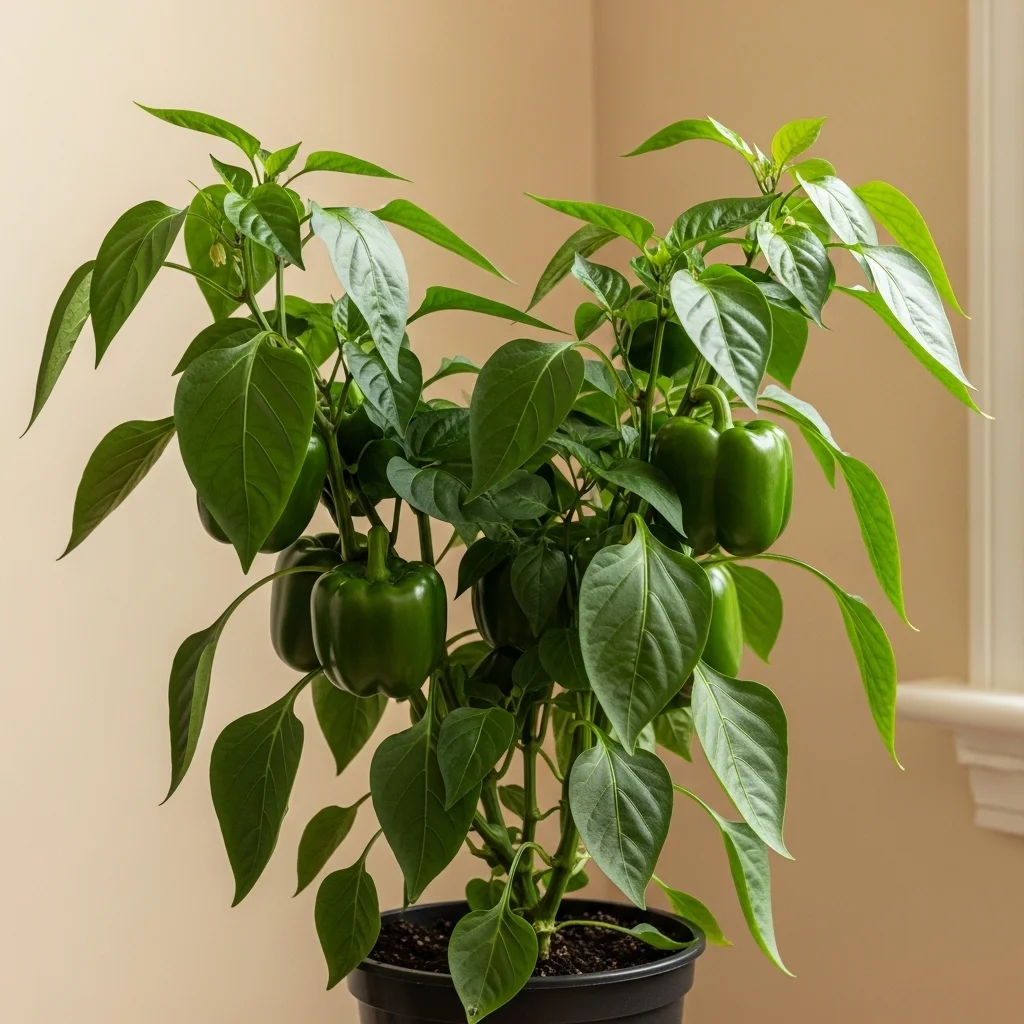
Growing bell peppers indoors is one of the most rewarding edible gardening projects available, delivering a continuous harvest of fresh, colourful, flavour-packed fruits regardless of your outdoor climate or available garden space.
Source: @madgrows
Whether you live in an apartment, have a small backyard, or want to extend your growing season, this complete guide on how to grow bell pepper indoors will take you from seed to harvest with confidence. Explore more productive growing ideas in our small vegetable gardens guide.
Source: @eklincofarms
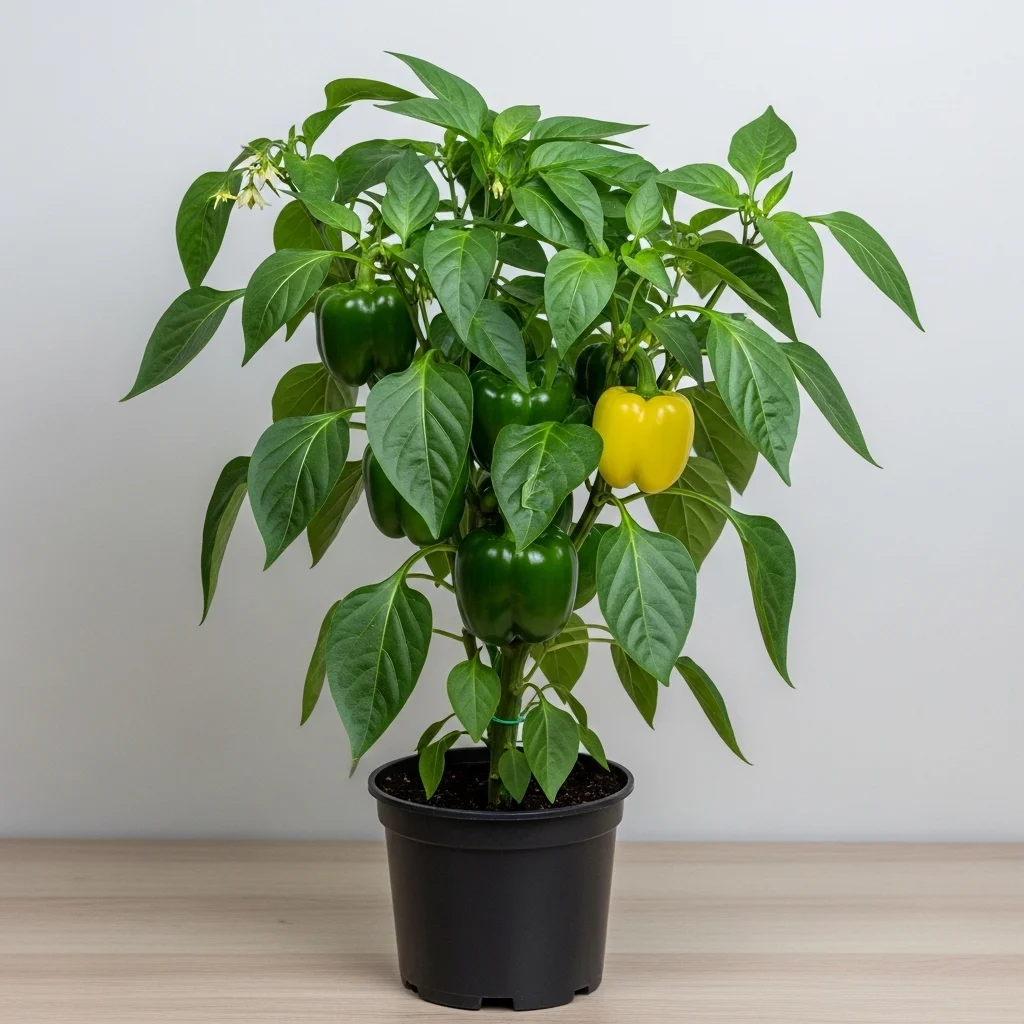
1. Right Bell Pepper Variety for Indoor Growing
Selecting the right bell pepper variety is the single most important decision you will make before beginning your indoor growing journey. Compact, determinate varieties are specifically suited to container growing and will perform significantly better in limited indoor spaces than larger, sprawling types.
Source: @julingobenza
Varieties such as Mini Bell Mix, Lipstick, Mohawk, and Redskin are all outstanding choices for indoor container growing, producing prolific harvests of full-flavoured fruits on compact, manageable plants. For more guidance on selecting productive edible plants suited to small spaces, our small vegetable gardens guide is a comprehensive and practical resource.
| Feature | Details |
|---|---|
| Best Compact Varieties | Mini Bell Mix, Lipstick, Mohawk, Redskin, Lunchbox |
| Plant Height | 12–24 inches (compact varieties) |
| Days to Maturity | 60–90 days from transplant |
| Fruit Size | Small to medium |
| Best For | Containers, windowsills, indoor growing systems |
| Colour Range | Red, yellow, orange, green, purple |
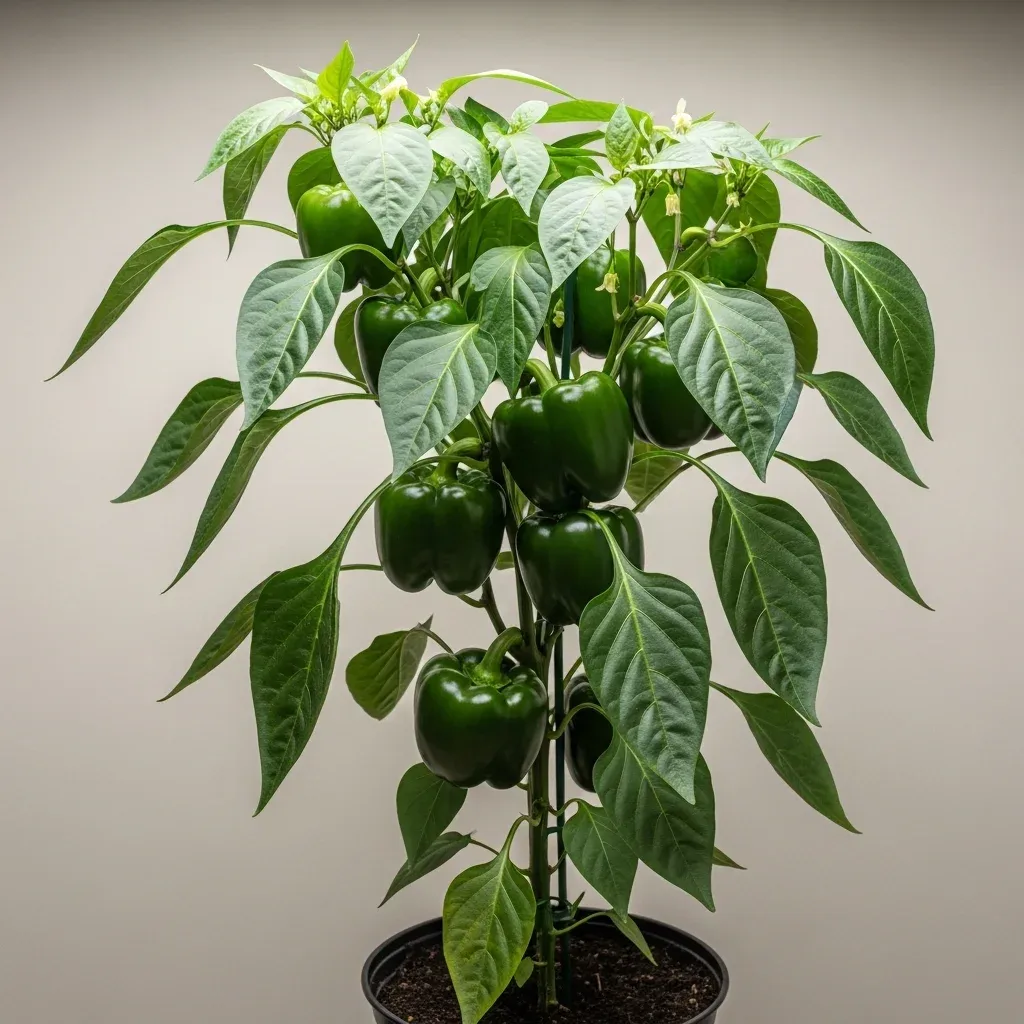
2. Light Requirements for Indoor Bell Peppers
Light is the single most critical factor in successfully growing bell peppers indoors. Bell peppers are sun-hungry plants that require a minimum of 6–8 hours of bright direct light daily to grow vigorously, flower prolifically, and produce well-sized, fully ripened fruits.
Source: @sledging78
A south-facing windowsill is the ideal natural light position for indoor bell peppers in the northern hemisphere, providing the longest daily light exposure throughout the growing season. For more advice on creating optimally lit indoor plant growing environments, our indoor plants guide covers light requirements for productive indoor growing in excellent detail.
| Feature | Details |
|---|---|
| Minimum Daily Light | 6–8 hours direct or very bright indirect light |
| Best Window Position | South or south-west facing windowsill |
| Supplemental Lighting | Full-spectrum LED grow lights (14–16 hours/day) |
| Light Distance (LED) | 6–12 inches above plant canopy |
| Signs of Insufficient Light | Leggy growth, flower drop, poor fruit set |
| Best Supplemental Light | Full-spectrum LED grow light panels |
3. Start Bell Peppers from Seed Indoors
Starting bell peppers from seed gives you access to a far wider range of varieties than buying transplants and allows you to begin the growing process at exactly the right time for your indoor growing setup and personal schedule.
Sow seeds 8–10 weeks before your intended transplant or container-growing date, pressing them just 6mm deep into a fine seed-starting mix and maintaining consistent warmth for reliable, even germination. For more productive seed-starting tips and edible growing inspiration, our food forest guide covers starting edible plants from seed in helpful, practical detail.
| Feature | Details |
|---|---|
| Best Sowing Time | 8–10 weeks before growing season start |
| Sowing Depth | ¼ inch (6mm) |
| Germination Temperature | 75–85°F (24–30°C) |
| Germination Time | 10–21 days |
| Best Seed-Starting Mix | Fine, sterile seed-starting compost |
| Seeds per Cell | 2–3 (thin to strongest after germination) |
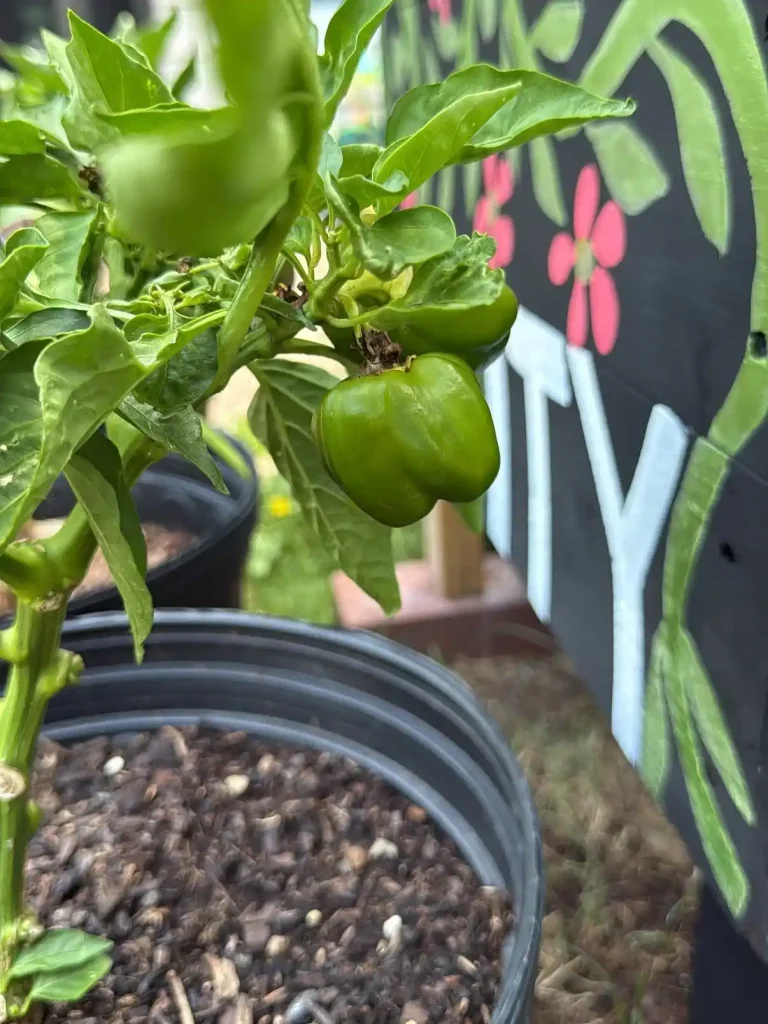
4. Select the Perfect Container for Indoor Bell Peppers
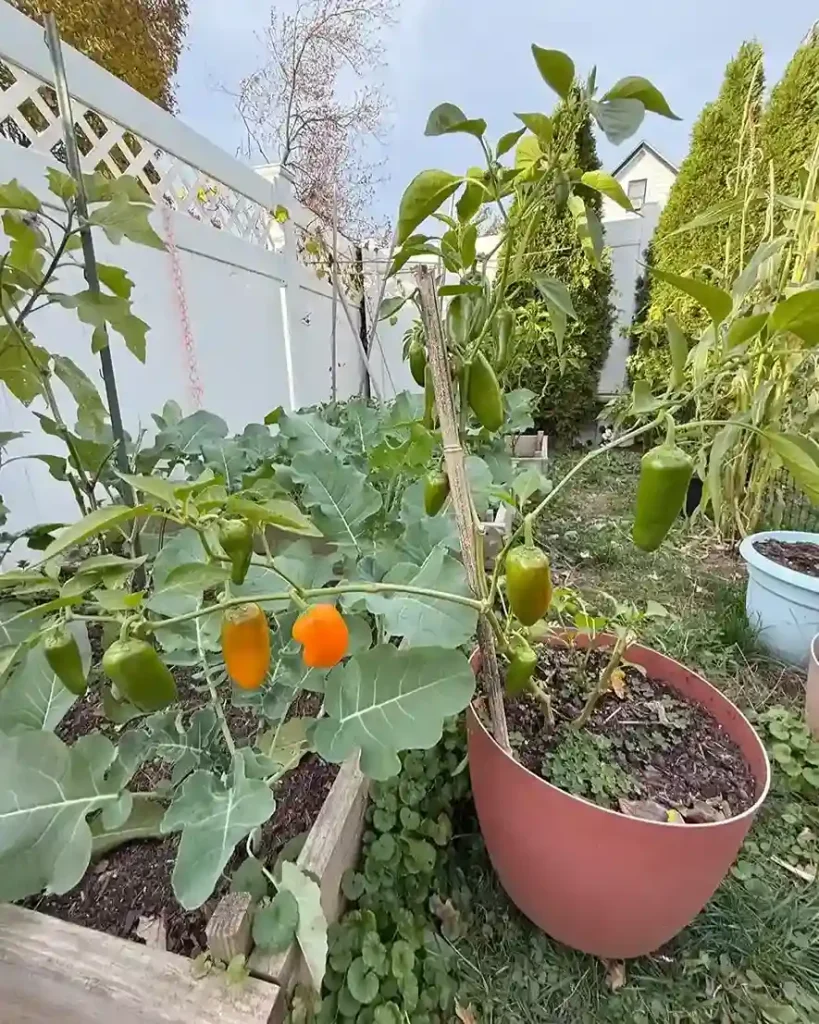
Choosing the right container size is critical for indoor bell pepper success. Bell peppers develop an extensive root system that requires adequate space to grow without restriction, and plants that become pot-bound quickly suffer from stress, reduced flowering, and disappointing yields.

Source: @thecaliforniapotcompany
A minimum container size of 5 gallons per plant is strongly recommended for full-sized varieties, while compact patio varieties can be successfully grown in 3-gallon containers with good results. For more container growing advice and inspiration, our comprehensive container gardening guide covers container selection for productive edible growing in excellent detail.
| Feature | Details |
|---|---|
| Minimum Container Size | 3 gallons (compact), 5 gallons (standard) |
| Best Container Materials | Fabric grow bags, plastic, terracotta, glazed ceramic |
| Drainage | Essential — multiple drainage holes required |
| Container Depth | Minimum 12 inches |
| Plants per Container | 1 plant per 5-gallon container |
| Best Container Shape | Deep and wide rather than shallow and narrow |
5. The Best Potting Mix for Indoor Bell Peppers
The potting mix you choose for indoor bell peppers directly impacts drainage, nutrient availability, root health, and ultimately the size and quality of your harvest. Bell peppers require a well-draining, nutrient-rich growing medium that retains adequate moisture without becoming waterlogged.
A high-quality peat-free compost blended with perlite or vermiculite at a ratio of approximately 70:30 creates an ideal growing medium that balances moisture retention with the excellent drainage bell peppers absolutely require. For more productive container growing mix advice, our container gardening guide covers growing media selection for edible container plants in excellent detail.
| Feature | Details |
|---|---|
| Best Mix Ratio | 70% peat-free compost, 30% perlite |
| pH Range | 6.0–6.8 (slightly acidic to neutral) |
| Organic Additions | Worm castings, slow-release fertiliser pellets |
| Drainage Improvers | Perlite, vermiculite, coarse sand |
| Moisture Retention | Coir fibre, water-retaining gel crystals |
| Replace Mix | Every 1–2 growing seasons |
6. Watering Indoor Bell Peppers Correctly
Watering is one of the most common areas where indoor bell pepper growers make critical mistakes. Both overwatering and underwatering cause significant problems, making it essential to develop a consistent, observant watering routine that responds to the plant’s actual needs.
Water thoroughly when the top inch of potting mix feels dry to the touch, allowing excess water to drain freely from the container base and never allowing the plant to sit in standing water for extended periods. For more watering guidance for indoor edible plants, our house plants guide covers indoor plant watering techniques in practical and helpful detail.
| Feature | Details |
|---|---|
| Watering Frequency | When top 1 inch of soil feels dry |
| Watering Method | Deep, thorough watering until drainage occurs |
| Water Temperature | Room temperature (avoid cold tap water) |
| Signs of Overwatering | Yellowing leaves, wilting despite wet soil |
| Signs of Underwatering | Wilting, dry crispy leaf edges, bud drop |
| Best Watering Tool | Watering can with long narrow spout |
7. Feeding and Fertilising Indoor Bell Peppers
Bell peppers are heavy feeders that require a consistent, well-timed fertilising programme to produce their best growth, most prolific flowering, and largest, most flavourful fruit harvest. Indoor container-grown plants are particularly dependent on regular feeding as nutrients leach rapidly from pots.
Begin with a balanced fertiliser high in nitrogen during the vegetative growth phase, then switch to a high-potassium tomato-type fertiliser once flowers begin to appear to support fruit development. For more productive edible growing feeding advice, our garden herb pairing guide covers companion planting approaches that naturally improve soil nutrition around edible plants.
| Feature | Details |
|---|---|
| Vegetative Stage Feed | Balanced NPK fertiliser (e.g. 10-10-10) |
| Flowering/Fruiting Feed | High potassium tomato fertiliser |
| Feeding Frequency | Every 2 weeks during active growth |
| Organic Options | Worm castings tea, liquid seaweed, fish emulsion |
| Avoid | High nitrogen feed once flowering begins |
| Signs of Deficiency | Yellowing leaves, poor fruit development |
8. Temperature and Humidity Requirements
Bell peppers are warm-weather plants that thrive in consistently warm indoor temperatures and perform very poorly when subjected to cold draughts, sudden temperature fluctuations, or humidity levels that are too low for their tropical origins.
Maintain indoor temperatures between 70–85°F (21–30°C) during the day and no lower than 60°F (15°C) at night for the best growth and fruiting results. For more guidance on creating the ideal indoor growing environment for productive plants, our indoor plants guide covers temperature and humidity management in excellent detail.
| Feature | Details |
|---|---|
| Ideal Daytime Temperature | 70–85°F (21–30°C) |
| Minimum Night Temperature | 60°F (15°C) |
| Ideal Humidity Level | 50–70% relative humidity |
| Avoid | Cold draughts, air conditioning vents, radiators |
| Humidity Boost Methods | Pebble tray with water, room humidifier |
| Signs of Cold Stress | Leaf drop, flower drop, purple discolouration |
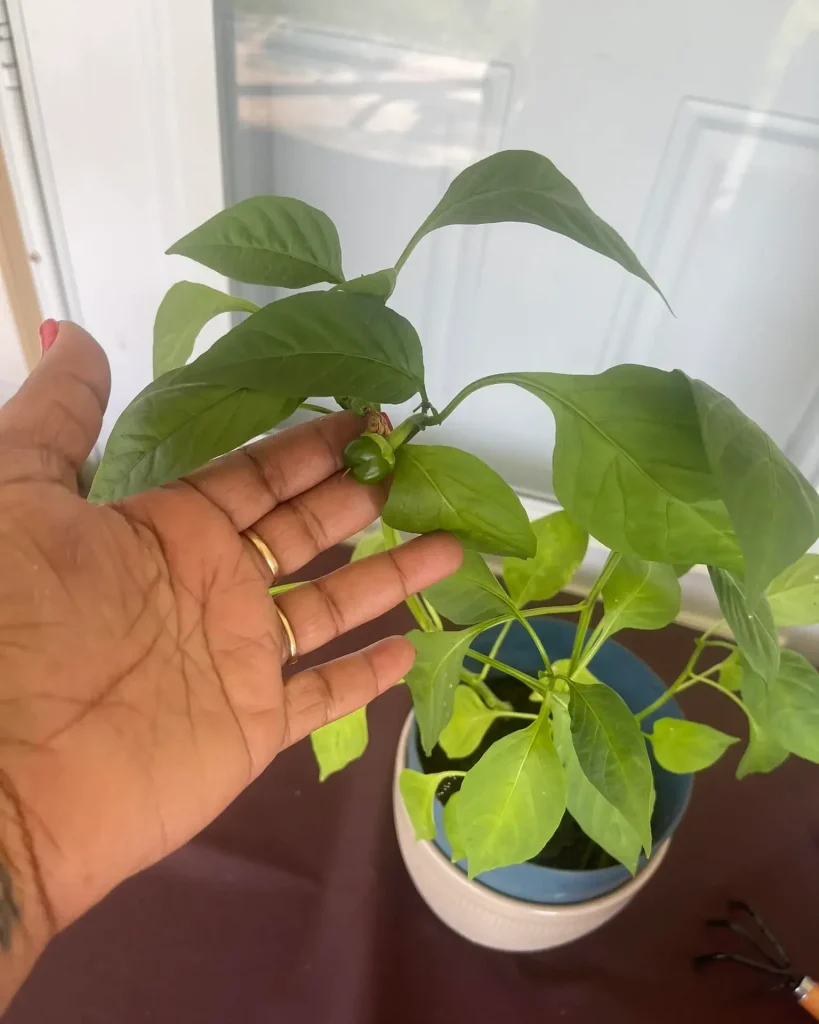
9. Hand Pollination for Indoor Bell Peppers
Outdoor bell peppers are naturally pollinated by wind and visiting insects, but indoor plants have no access to these natural pollination mechanisms and will produce little or no fruit without your direct intervention to transfer pollen between flowers manually.
Source: @vonniethevessel13
Gently shake flowering plants daily or use a soft paintbrush or electric toothbrush to transfer pollen from one flower’s stamens to another’s stigma, mimicking the vibrating effect that bumblebee pollination provides in outdoor conditions. For more productive growing advice, our small vegetable gardens guide covers pollination tips for indoor edible plants in practical detail.
| Feature | Details |
|---|---|
| Best Pollination Method | Electric toothbrush or soft paintbrush |
| Pollination Frequency | Daily when flowers are open |
| Best Time to Pollinate | Midday when pollen is most abundant |
| Signs of Successful Pollination | Small fruit developing at flower base |
| Signs of Failed Pollination | Flowers dropping without fruit development |
| Alternative Method | Gently shake entire plant daily |
10. Supporting Indoor Bell Pepper Plants
Bell pepper plants loaded with developing fruits become surprisingly heavy and top-heavy, frequently bending or snapping under the weight of a prolific crop without adequate support structures in place to keep stems upright and strong throughout the fruiting period.
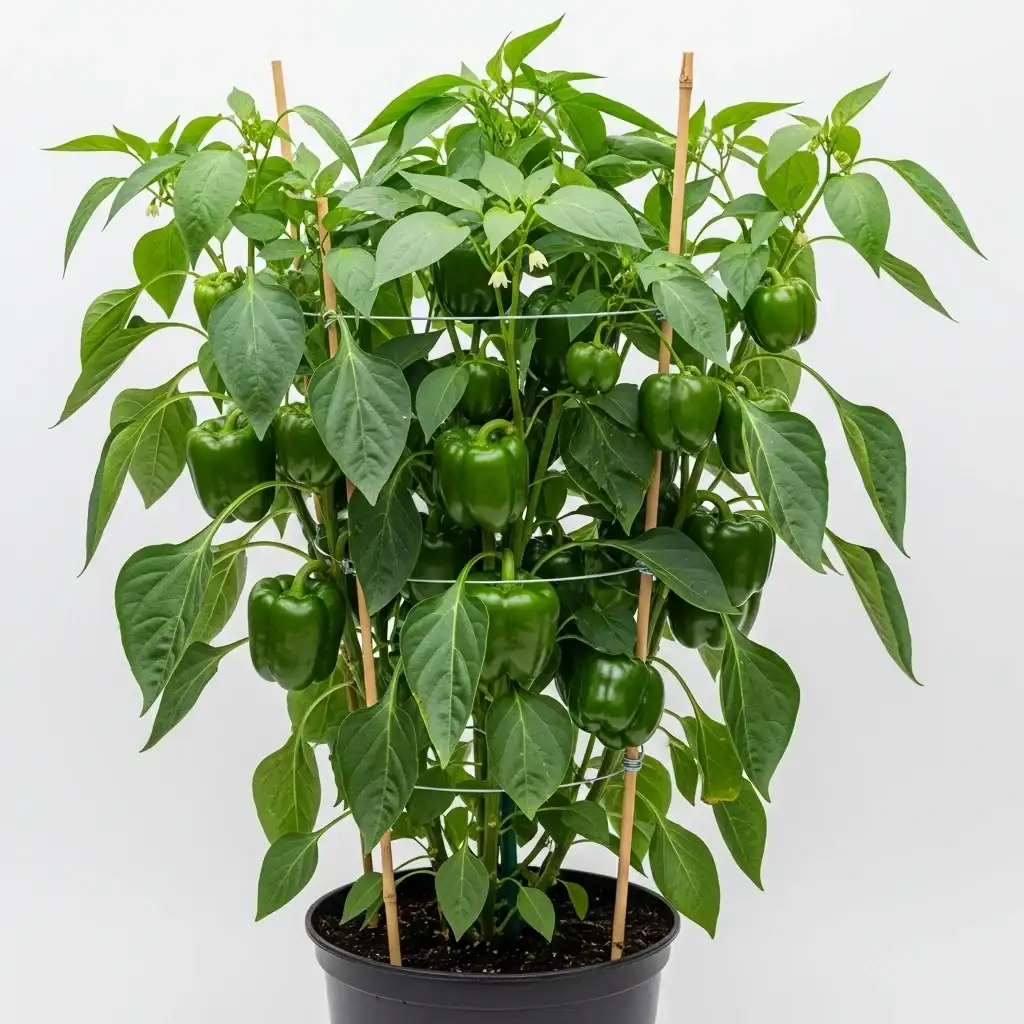
Install bamboo canes, small tomato cages, or purpose-made plant support frames when plants reach approximately 12 inches tall to prevent stem damage and ensure the best possible fruit development throughout the entire growing season. For more ideas on supporting productive container plants, our container gardening flowers guide covers plant support in container growing settings helpfully.
| Feature | Details |
|---|---|
| Best Support Types | Bamboo canes, small tomato cage, wire frame |
| When to Install | When plant reaches 10–12 inches tall |
| Tying Material | Soft garden twine, silicone plant ties |
| Number of Supports | 1–3 canes per plant depending on size |
| Key Benefit | Prevents stem breakage under fruit weight |
| Check Regularly | Tighten or adjust ties as plant grows |
11. Pruning and Pinching for Better Yields
Strategic pruning and pinching of indoor bell pepper plants significantly improves yield, air circulation, and overall plant health by directing the plant’s energy toward fruit production rather than excessive vegetative growth that consumes resources without contributing to harvest.
Pinch out the growing tip when the plant reaches 8–10 inches tall to encourage bushy branching, and remove any suckers that develop in the angles between main stems and side shoots throughout the growing season. For more productive growing techniques, our food forest guide covers plant management strategies for maximising edible plant productivity beautifully.
| Feature | Details |
|---|---|
| First Pinch | When plant reaches 8–10 inches tall |
| Remove | Suckers, yellowing leaves, crowded inner branches |
| Keep | 3–5 main fruiting stems per plant |
| Tools | Clean, sharp scissors or pruning snips |
| Frequency | Check and prune lightly every 2–3 weeks |
| Key Benefit | More fruits, better air flow, healthier plant |
12. Managing Pests on Indoor Bell Peppers
Indoor bell pepper plants are susceptible to a range of common greenhouse and indoor pests including aphids, spider mites, whitefly, and fungus gnats that can quickly establish damaging infestations in the warm, protected indoor growing environment if not caught and addressed promptly.
Inspect plants thoroughly every week, check the undersides of leaves where pests most commonly hide, and treat at the first signs of infestation using organic, plant-safe sprays or biological controls. For comprehensive pest management strategies, our guides on get rid of ants in your yard and diy mosquito repellent cover natural pest control methods that translate effectively to indoor growing environments.
| Feature | Details |
|---|---|
| Most Common Pests | Aphids, spider mites, whitefly, fungus gnats |
| Best Organic Treatments | Neem oil, insecticidal soap, sticky yellow traps |
| Biological Controls | Predatory mites, lacewings, parasitic wasps |
| Prevention Methods | Good ventilation, avoid overwatering, clean tools |
| Inspection Frequency | Weekly — check undersides of all leaves |
| Signs of Infestation | Sticky residue, tiny dots on leaves, visible insects |
13. Common Diseases of Indoor Bell Peppers
Bell peppers grown indoors can be affected by several fungal and bacterial diseases that thrive in warm, humid, poorly ventilated growing conditions. Prevention through good growing practices is far more effective and less stressful than attempting to treat established disease problems after they appear.
Blossom end rot, powdery mildew, and damping off are the most common diseases affecting indoor bell peppers, all of which are largely preventable through correct watering, adequate ventilation, and consistent calcium nutrition throughout the growing season. For more guidance on keeping indoor plants disease-free, our house plants guide covers preventative plant health management in helpful detail.
| Feature | Details |
|---|---|
| Most Common Diseases | Blossom end rot, powdery mildew, damping off |
| Blossom End Rot Cause | Calcium deficiency, irregular watering |
| Powdery Mildew Cause | Poor ventilation, high humidity |
| Damping Off Cause | Overwatering, cold, poor drainage |
| Best Prevention | Consistent watering, good ventilation, calcium feed |
| Treatment | Remove affected material, adjust growing conditions |
14. Transplanting and Repotting Indoor Bell Peppers
Bell peppers are slow-growing plants that benefit from careful, timely transplanting at each stage of their development. Moving plants into progressively larger containers as they grow prevents the root restriction that significantly limits growth, flowering, and fruiting performance in container-grown plants.
Begin seedlings in 3-inch pots, move to 1-gallon containers when roots emerge from drainage holes, then on to their final 5-gallon growing container when plants are well established and growing vigorously. For more container growing management advice, our container gardening guide covers repotting techniques for productive container edibles in excellent detail.
| Feature | Details |
|---|---|
| Starting Pot Size | 3-inch seed cell or small pot |
| Intermediate Pot Size | 1-gallon container |
| Final Pot Size | 5-gallon container minimum |
| Repot Trigger | Roots emerging from drainage holes |
| Best Repotting Time | Early morning or evening in warm conditions |
| Post-Repot Care | Water thoroughly, keep out of direct sun for 24 hours |
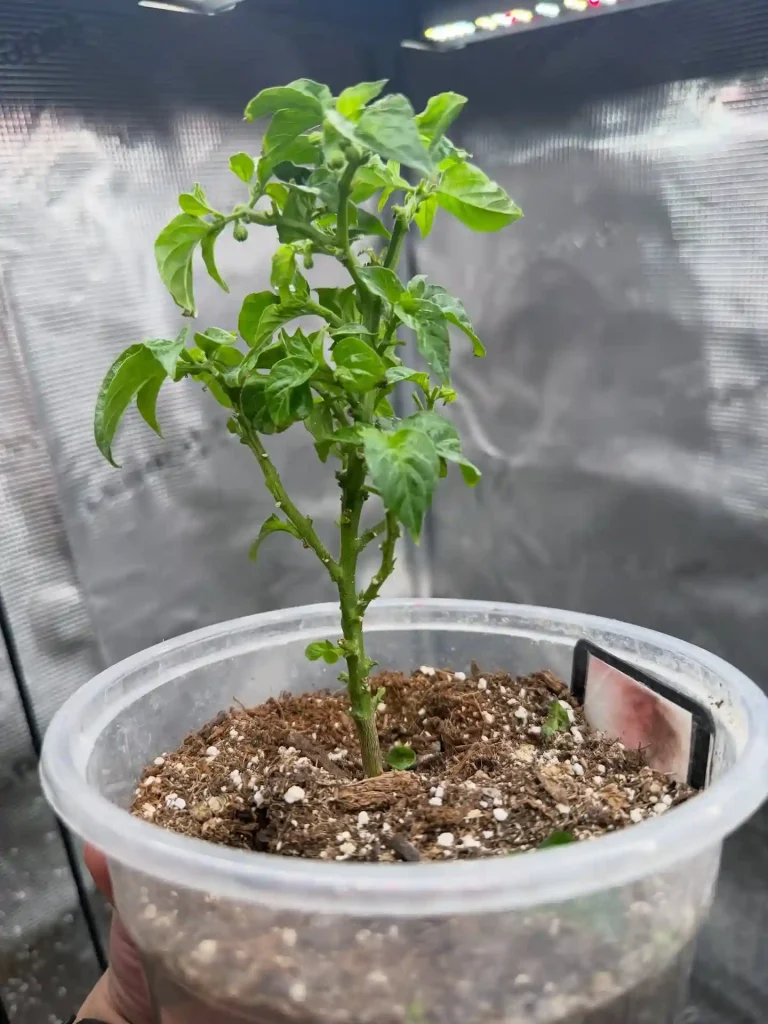
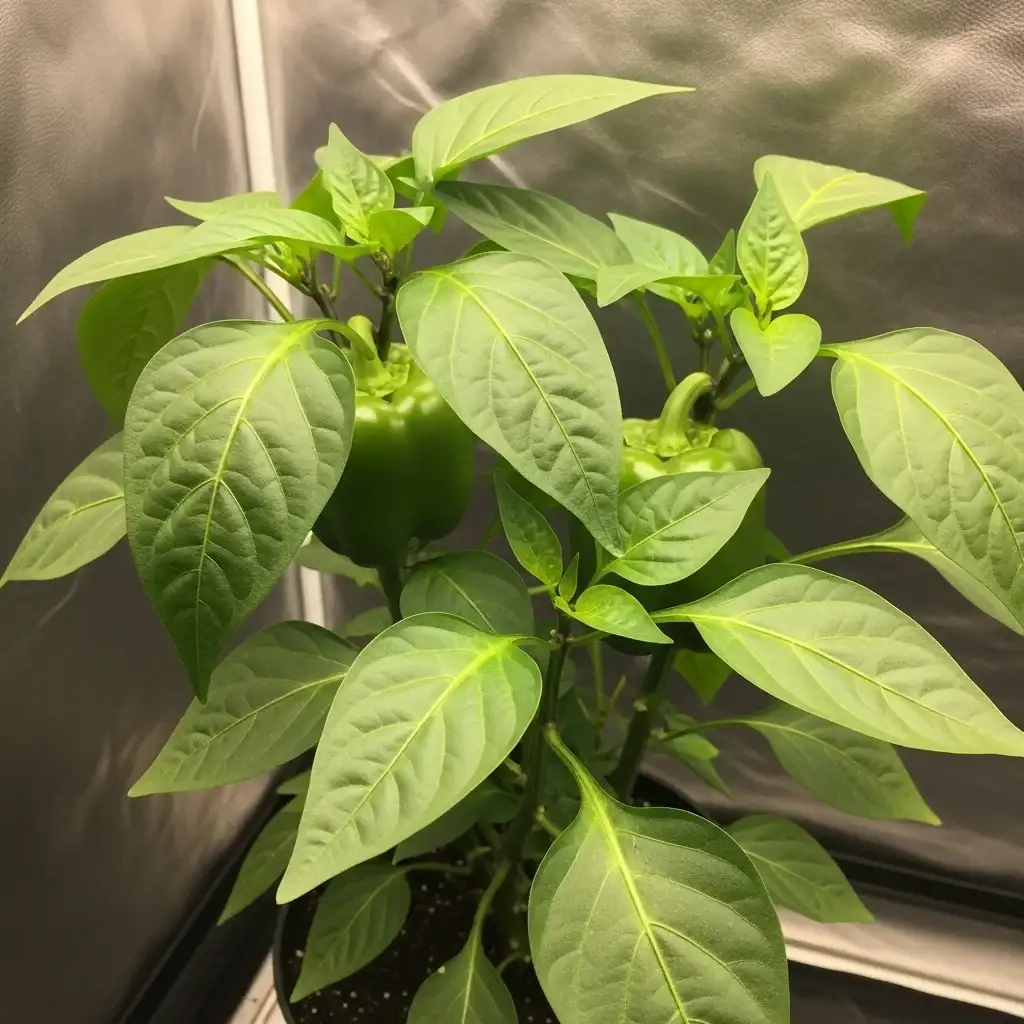
15. Using Grow Lights for Indoor Bell Peppers
Supplemental grow lights are an absolute necessity for growing bell peppers indoors in most home environments, where even the brightest windowsill rarely provides the 6–8 hours of high-intensity light that bell peppers need for vigorous growth and abundant fruit production.
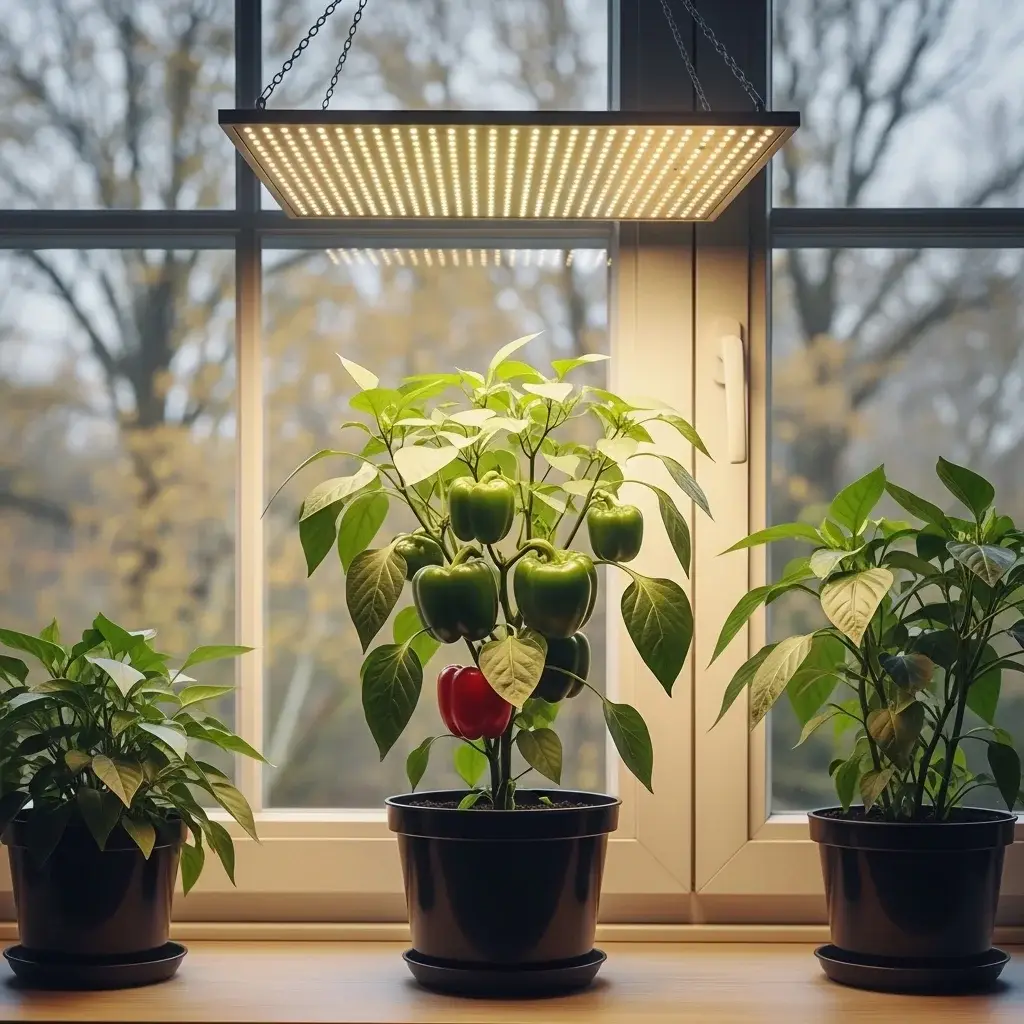
Full-spectrum LED grow lights are the most energy-efficient, effective, and widely available option for indoor pepper growers, providing the complete spectrum of light wavelengths that bell peppers need at every stage of their development. For more indoor plant lighting advice and growing environment tips, our indoor plants guide covers supplemental lighting for productive indoor growing in comprehensive detail.
| Feature | Details |
|---|---|
| Best Light Type | Full-spectrum LED grow lights |
| Daily Duration | 14–16 hours during vegetative growth |
| Light Intensity | 2,000–4,000 lumens per square foot |
| Light Distance | 6–12 inches above plant canopy |
| Light Cycle | 16 hours on, 8 hours off |
| Estimated Running Cost | Very low with modern LED panels |
16. Companion Planting for Indoor Bell Peppers
Companion planting with bell peppers improves pollination rates, deters common indoor pests naturally, and makes the most efficient use of limited indoor growing space by pairing complementary plants that benefit each other through proximity in shared containers or growing areas.
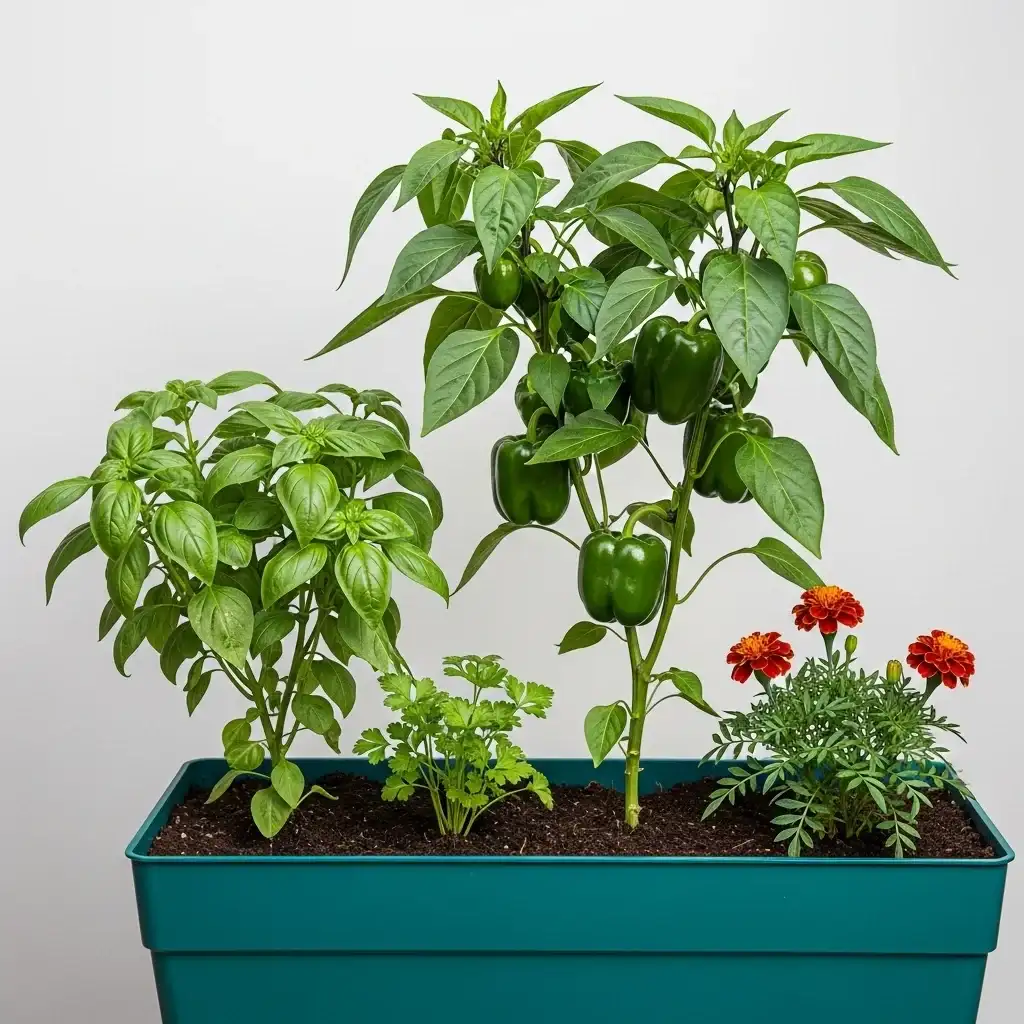
Basil, parsley, and marigolds are among the most beneficial and practical companion plants for indoor bell peppers, each contributing pest-deterring properties or pollinator attraction that significantly improves the overall health and productivity of the growing space. For comprehensive companion planting advice and plant pairing strategies, our garden herb pairing guide is an invaluable and beautifully detailed resource.
| Feature | Details |
|---|---|
| Best Companions | Basil, parsley, marigold, chives, oregano |
| Benefits | Pest deterrence, improved flavour, space efficiency |
| Avoid Growing With | Fennel, kohlrabi, apricot |
| Shared Container | Only with very compact companion herbs |
| Companion Placement | Adjacent containers rather than same pot |
| Key Benefit | Natural pest control, improved growing environment |
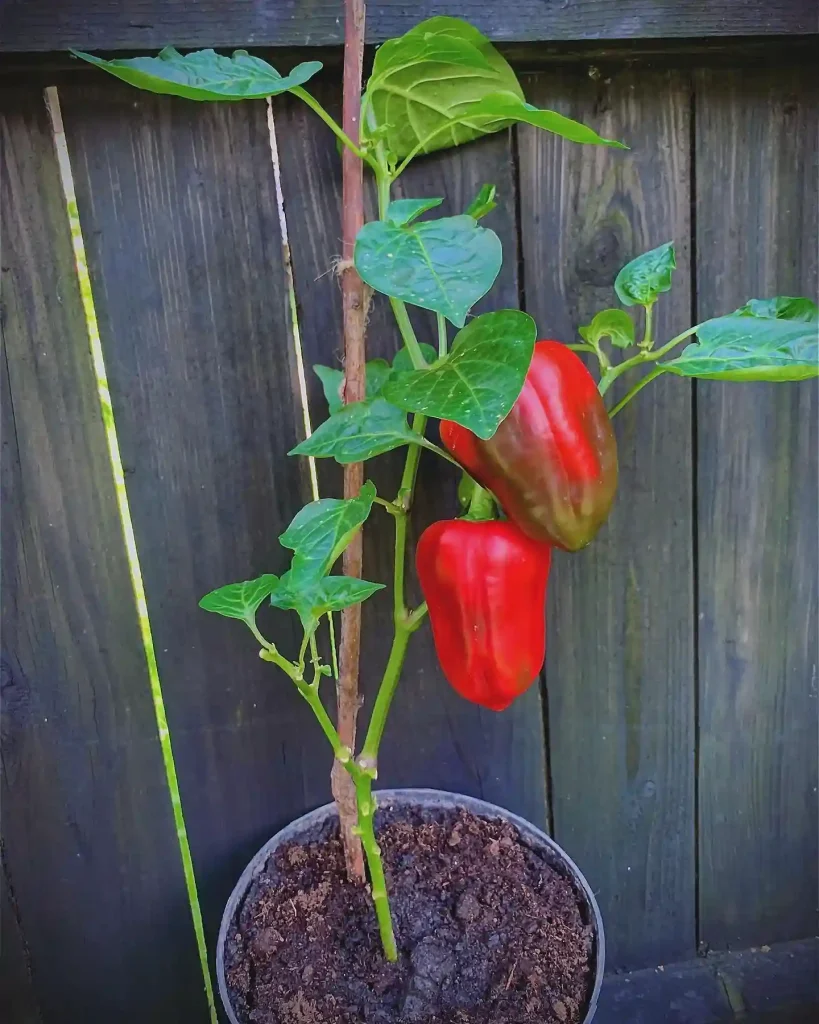
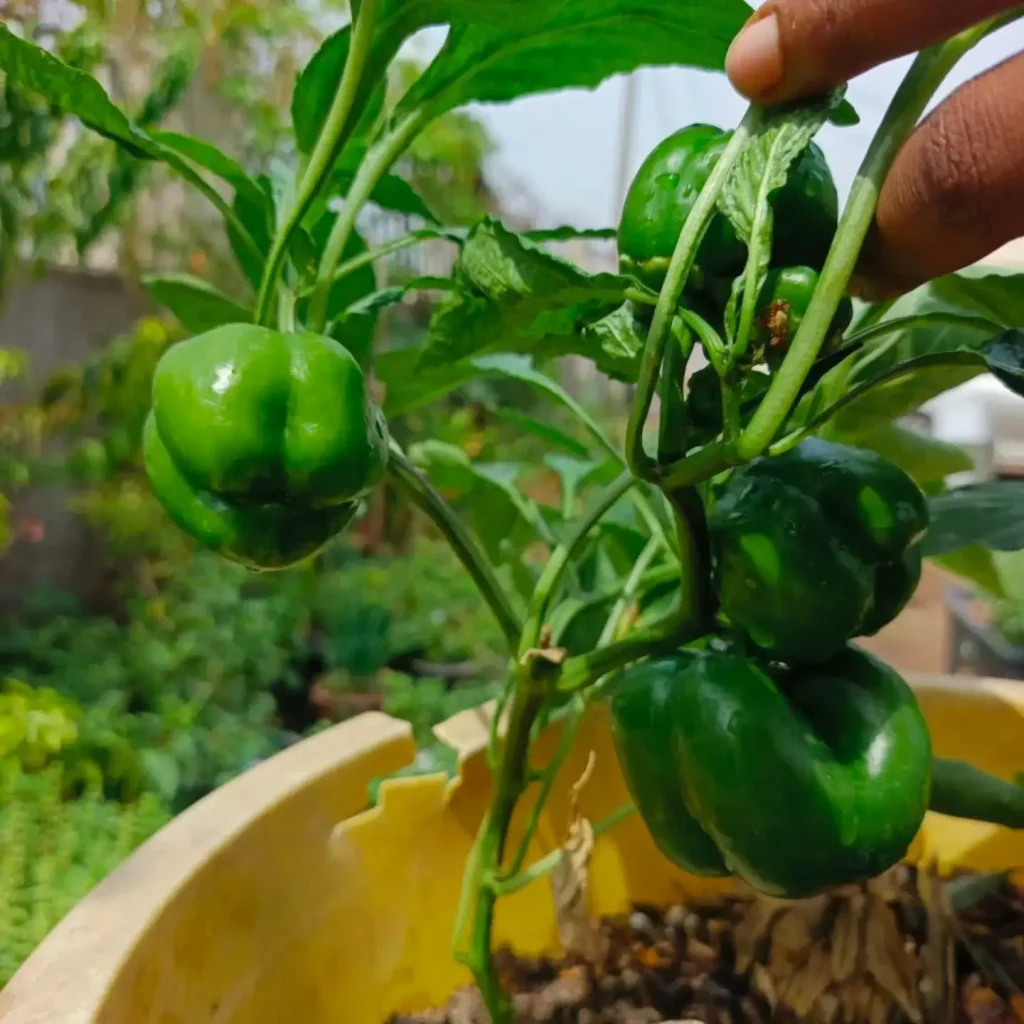
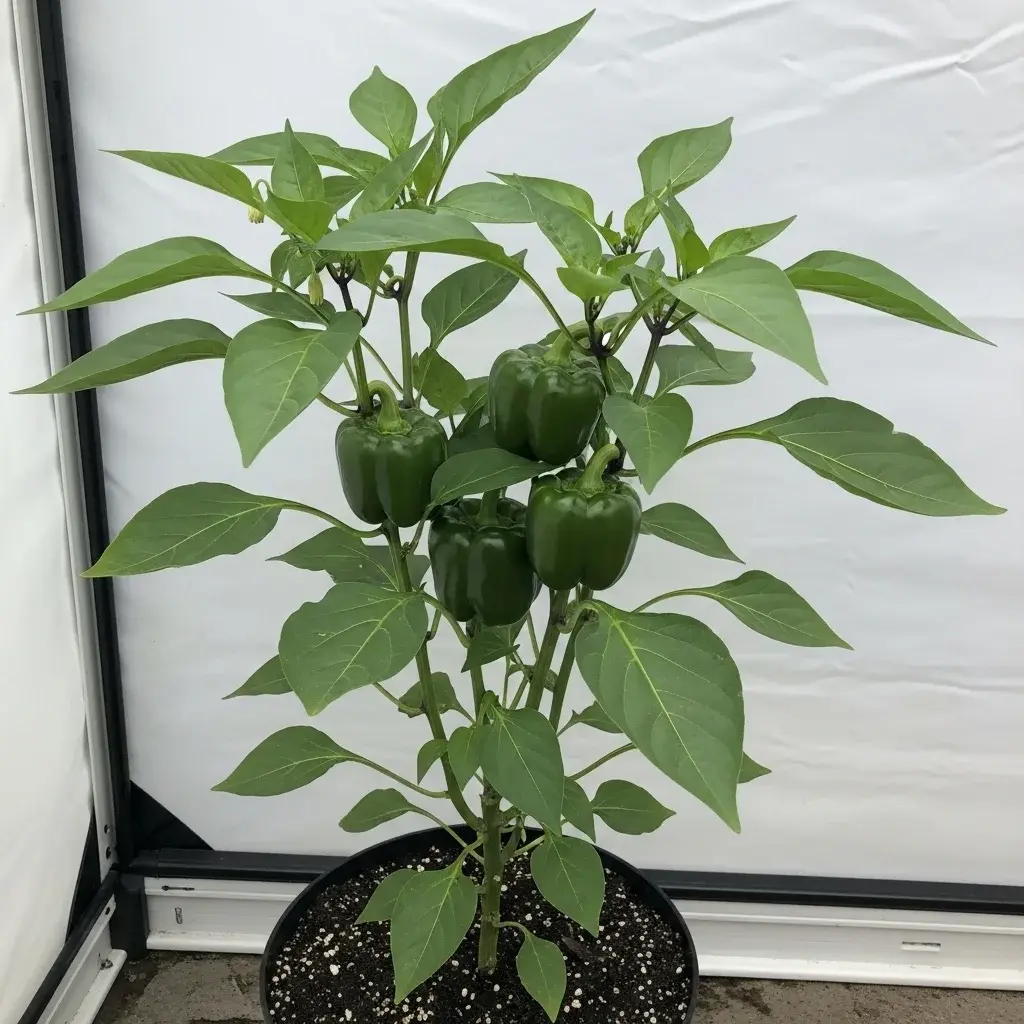
17. Harvesting Indoor Bell Peppers
Knowing when and how to harvest your indoor bell peppers correctly is essential to getting the best flavour, the highest yield, and the longest possible continuous harvest period from each plant throughout the growing season.
Green bell peppers can be harvested as soon as they reach full size and feel firm to the touch, while red, yellow, and orange varieties should be left on the plant for a further 2–3 weeks after full size to develop their characteristic sweet flavour and full colour. For more productive harvesting tips and edible growing inspiration, our small vegetable gardens guide covers harvest timing and techniques for container vegetables in excellent detail.
| Feature | Details |
|---|---|
| Harvest Stage (Green) | Full size, firm, bright green colour |
| Harvest Stage (Coloured) | Full size plus 2–3 weeks for colour development |
| Harvesting Tool | Sharp scissors or secateurs |
| How to Harvest | Cut stem cleanly 1 inch above fruit |
| Storage | Refrigerate up to 2 weeks or freeze |
| Continuous Harvest | Regular picking encourages more fruiting |
18. Overwintering Indoor Bell Pepper Plants
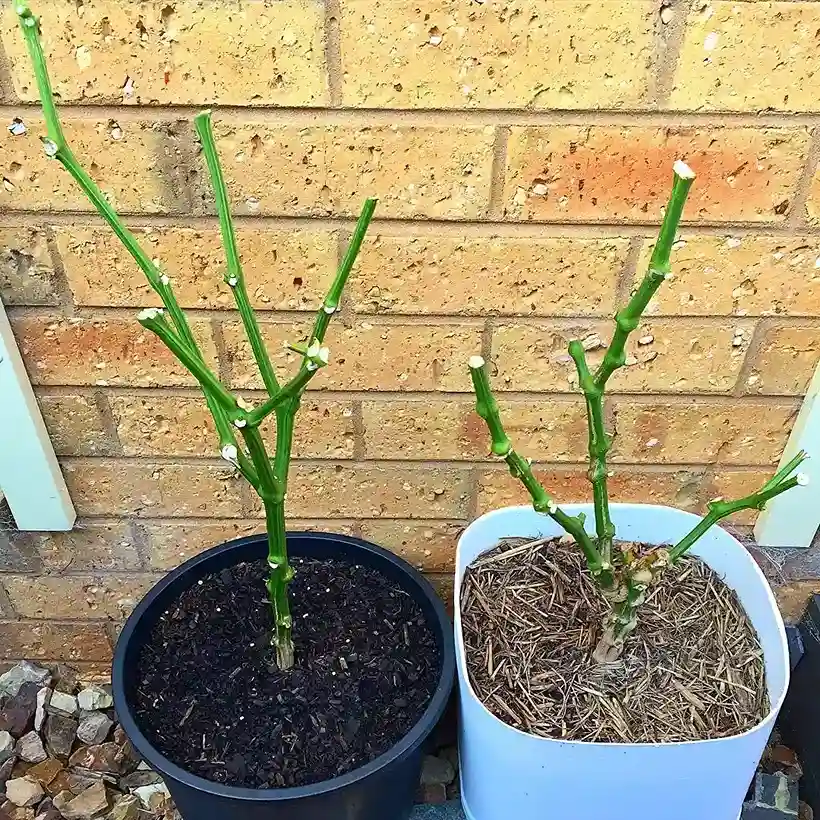
Bell pepper plants are actually tender perennials in their native tropical climate, meaning that with the right care they can be kept alive and productive for multiple growing seasons indoors rather than being treated as annual plants and discarded at season’s end.
Cut plants back by approximately half at the end of the growing season, reduce watering significantly, stop feeding entirely, and maintain them in a warm, bright indoor position through winter before resuming feeding and watering in late winter to trigger new growth. For more advice on overwintering tender productive plants, our house plants guide covers overwintering techniques for tender indoor plants in practical, helpful detail.
| Feature | Details |
|---|---|
| Cut Back Amount | Reduce plant by approximately 50% |
| Winter Water Frequency | Every 2–3 weeks (minimal) |
| Winter Temperature | Minimum 60°F (15°C) |
| Resume Feeding | Late winter as new growth appears |
| Benefit | Established plants fruit earlier and more heavily |
| Overwintered Plant Age | Productive for 3–5 years with good care |
19. Troubleshooting Common Indoor Bell Pepper Problems
Indoor bell pepper growing occasionally presents a range of frustrating but entirely solvable problems including flower drop, fruit not developing, yellowing leaves, and stunted growth that can be quickly diagnosed and corrected with the right understanding and adjustments.

Source: @missanne_thropy
Flower drop is most commonly caused by temperature fluctuations, low humidity, or failed pollination, while yellowing leaves typically indicate overwatering or nutrient deficiency that can be corrected by adjusting your watering and feeding schedule accordingly. For more indoor growing problem-solving advice, our house plant display ideas guide covers plant health troubleshooting for indoor growing spaces in practical, helpful detail.
| Feature | Details |
|---|---|
| Flower Drop Causes | Temperature fluctuation, low humidity, poor pollination |
| Yellow Leaves Causes | Overwatering, nutrient deficiency, root bound |
| Stunted Growth Causes | Insufficient light, cold temperatures, pot-bound roots |
| No Fruit Setting | Failed pollination, incorrect temperature |
| Purple Leaf Colouration | Phosphorus deficiency or cold stress |
| Wilting Despite Wet Soil | Root rot from overwatering |
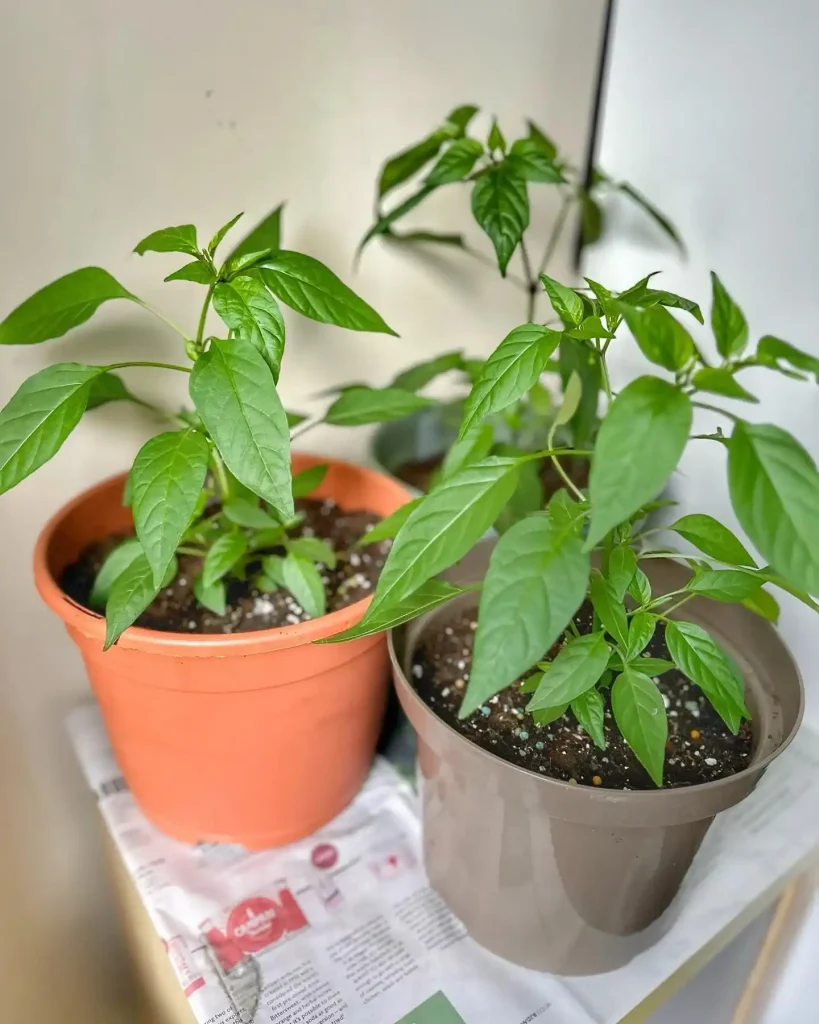
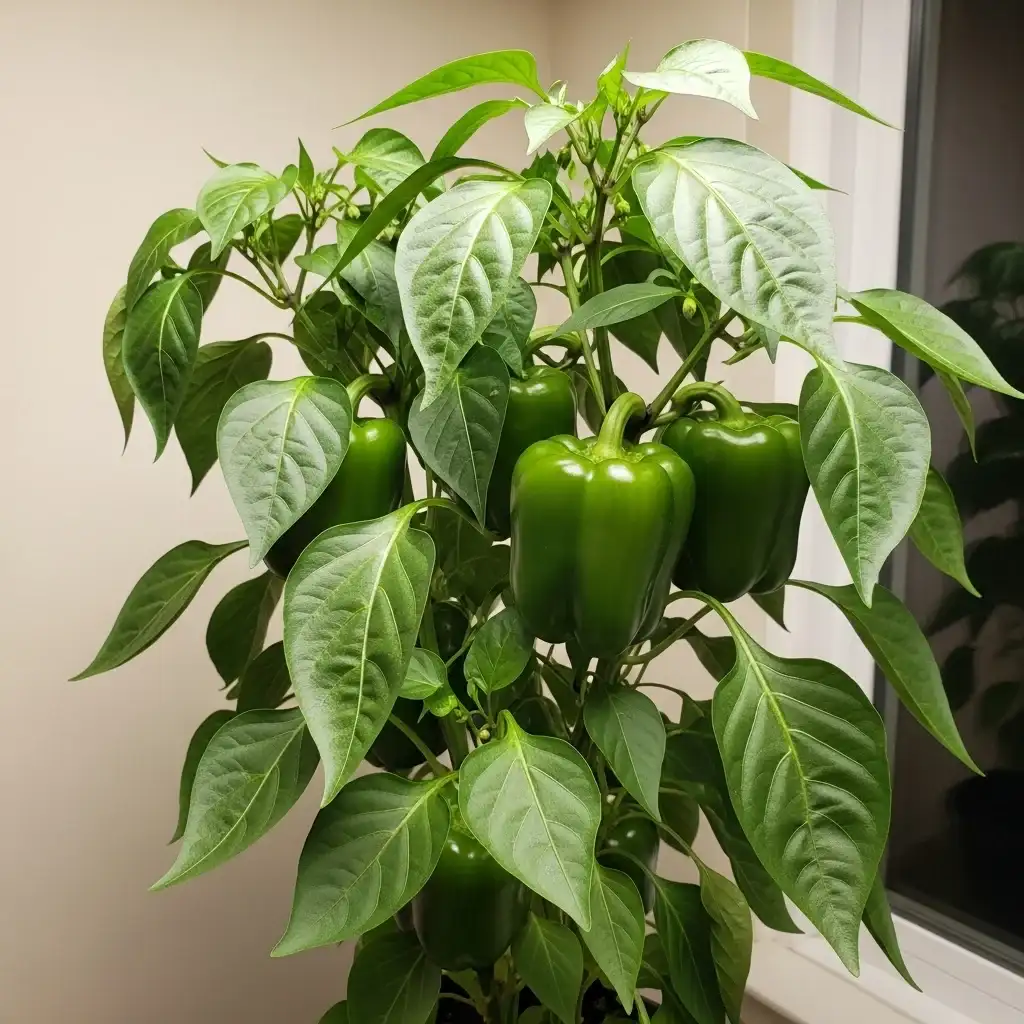
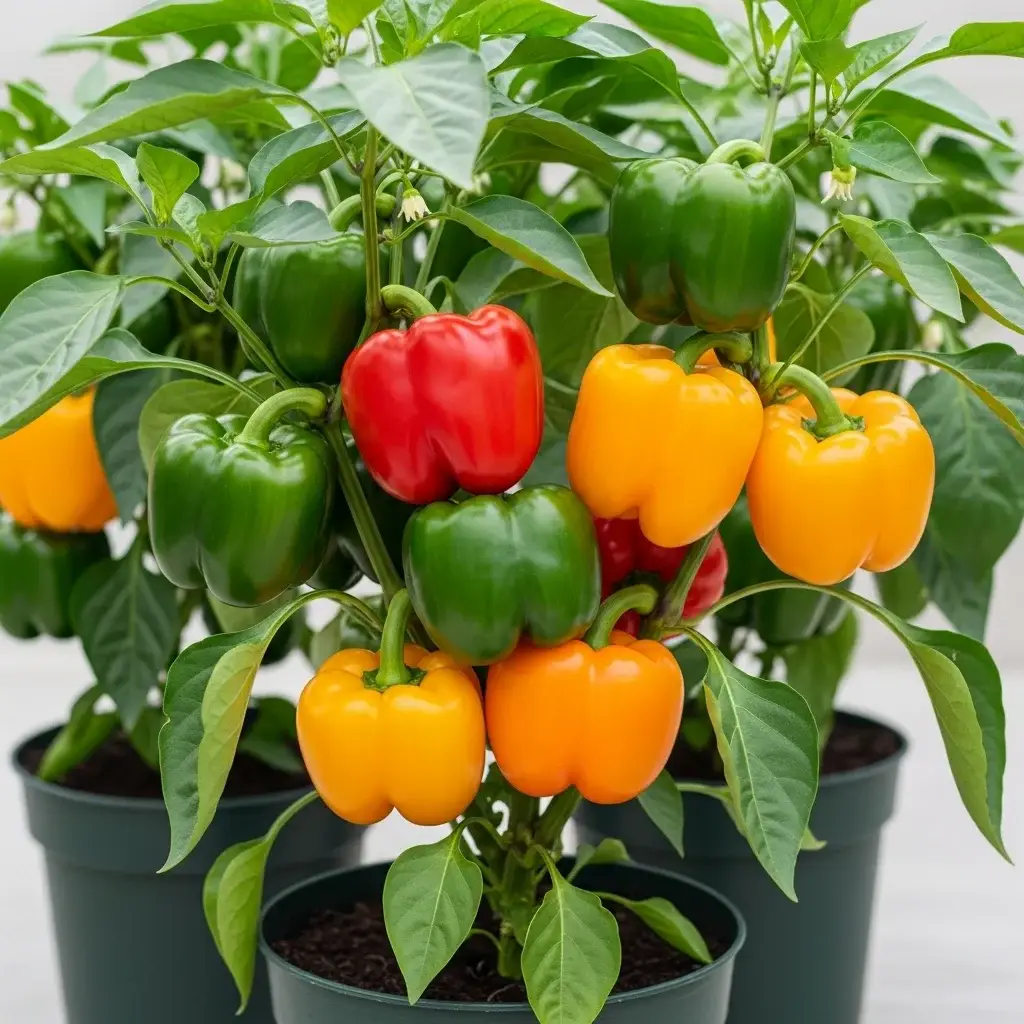
20. Displaying Indoor Bell Pepper Plants Beautifully
Indoor bell pepper plants are genuinely attractive plants that produce glossy green foliage and vibrantly colourful fruits, making them perfectly capable of doubling as beautiful decorative house plants as well as highly productive edible growers throughout the season.
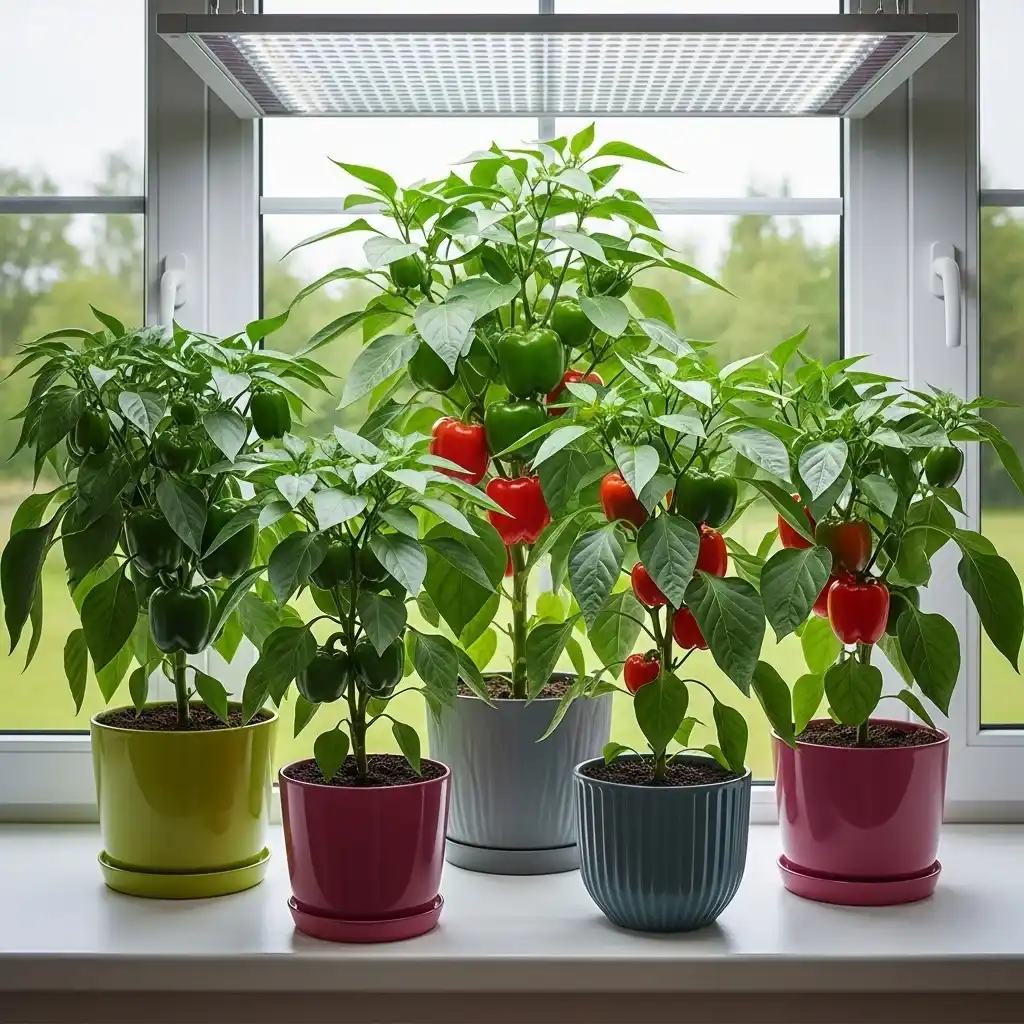
Group several varieties together in complementary containers on a sunny windowsill or under grow lights to create a stunning, colourful edible display that is as beautiful as it is productive. For more creative ideas on displaying productive and ornamental plants indoors, our house plant display ideas guide and indoor plants guide are both full of beautiful, inspiring arrangement ideas.
| Feature | Details |
|---|---|
| Best Display Position | South-facing windowsill, under grow lights |
| Best Container Style | Terracotta, coloured ceramic, galvanised metal |
| Display Grouping | 3–5 plants together for visual impact |
| Decorative Features | Colourful fruits, glossy foliage, compact habit |
| Best Companion Display Plants | Herbs, compact tomatoes, ornamental chillies |
| Key Display Benefit | Beautiful, productive, and conversation-starting |
Frequently Asked Questions (FAQs)
Q1: How long does it take to grow bell peppers indoors from seed to harvest?
Bell peppers take approximately 10–21 days to germinate, 8–10 weeks to reach transplant size, and a further 60–90 days from transplanting to first harvest, meaning a total growing time of around 4–5 months from seed to first fruit indoors.
Q2: Can bell peppers grow indoors without a grow light?
Bell peppers can grow on a very bright south-facing windowsill without supplemental lighting, but a full-spectrum LED grow light dramatically improves growth, flowering, and fruiting results, especially in winter months when natural daylight hours are insufficient for productive pepper growing indoors.
Q3: Why are my indoor bell pepper flowers dropping without producing fruit?
Flower drop is most commonly caused by failed pollination in indoor environments where no insects are present. Gently shake plants daily or use a soft paintbrush to transfer pollen between open flowers. Temperature fluctuations above 90°F or below 60°F also cause flower drop significantly.
Q4: How often should I water indoor bell pepper plants?
Water thoroughly when the top inch of potting mix feels dry to the touch, typically every 2–4 days depending on pot size, temperature, and light levels. Consistent moisture without waterlogging is essential — always ensure containers have adequate drainage holes throughout.
Conclusion
Growing bell peppers indoors is a genuinely achievable, deeply rewarding project that delivers a continuous harvest of fresh, flavourful fruits right from your windowsill or indoor growing space throughout the entire year.
Explore more productive growing inspiration through our guides on small vegetable gardens and container gardening guide to take your indoor edible garden to the next level.